Alert Widget
Alert Widget
To use the variants you previously configured in the workflow, you need to add a Get Variable node to the graph and connect its output to the input of another node that should use the variant values. Please note that you must add a node whose variable has been marked for the variants.
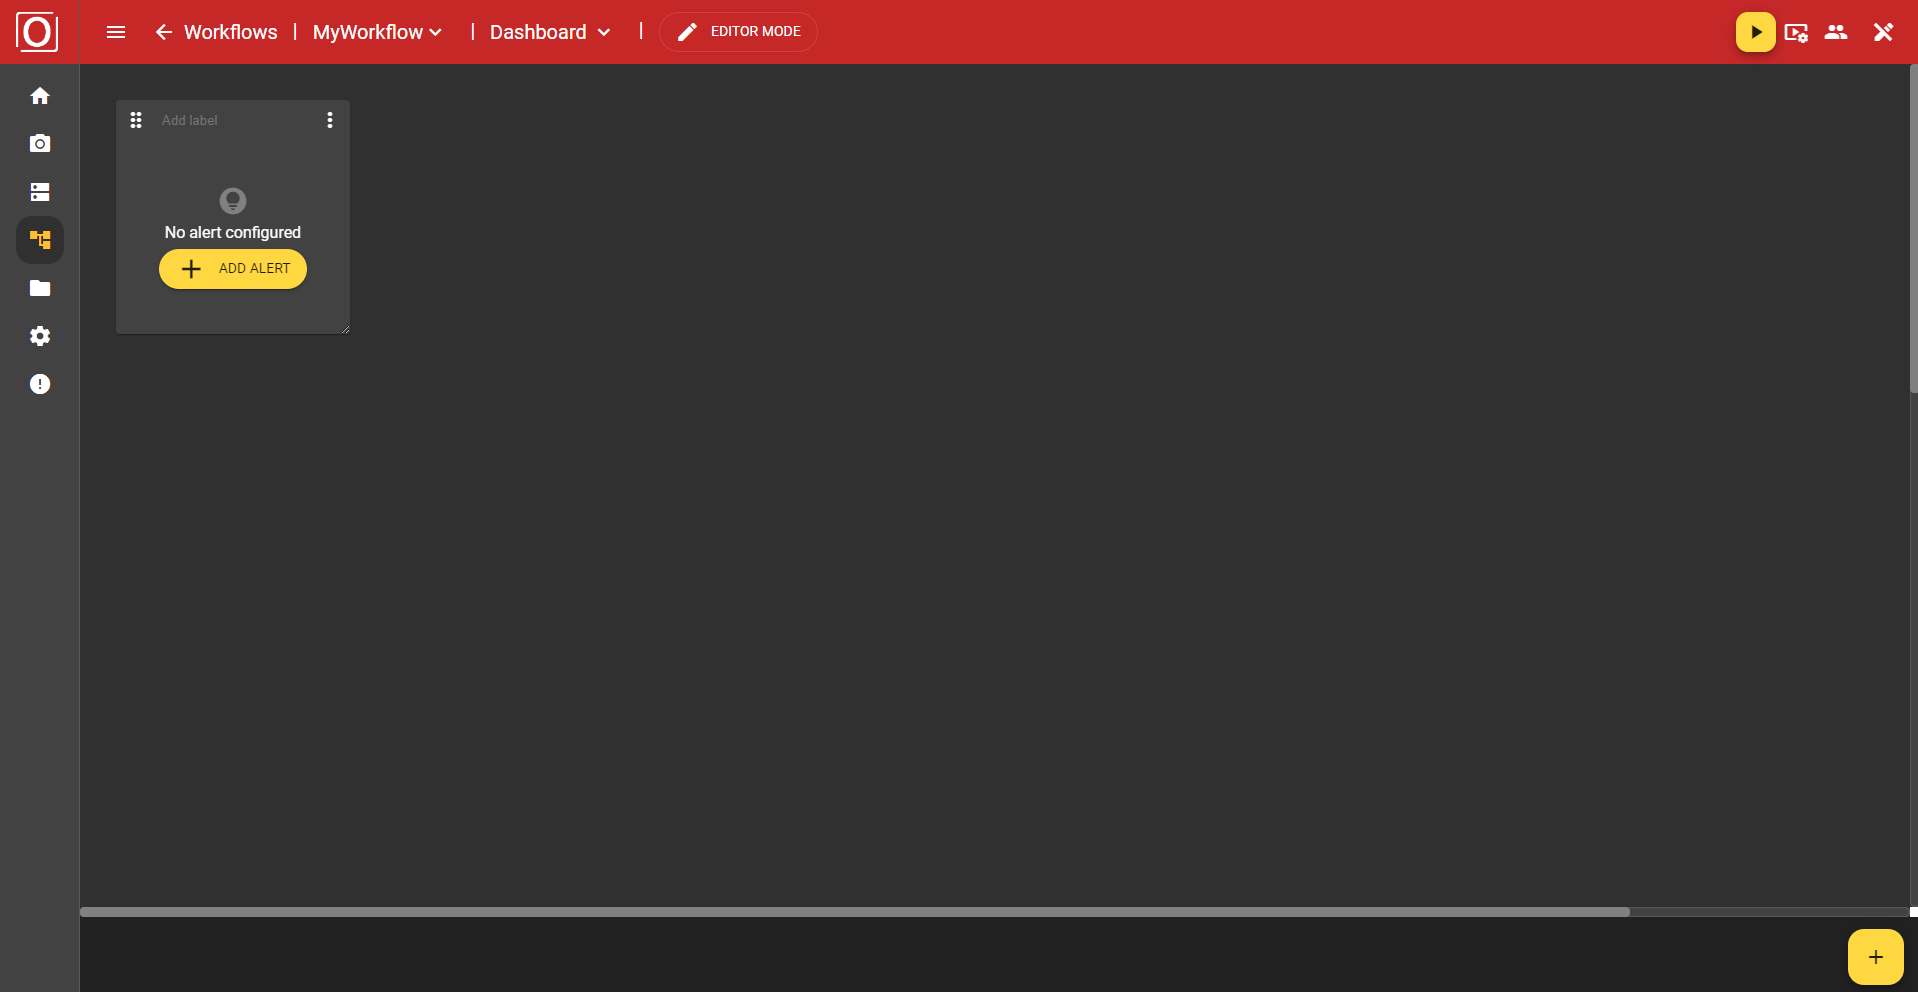
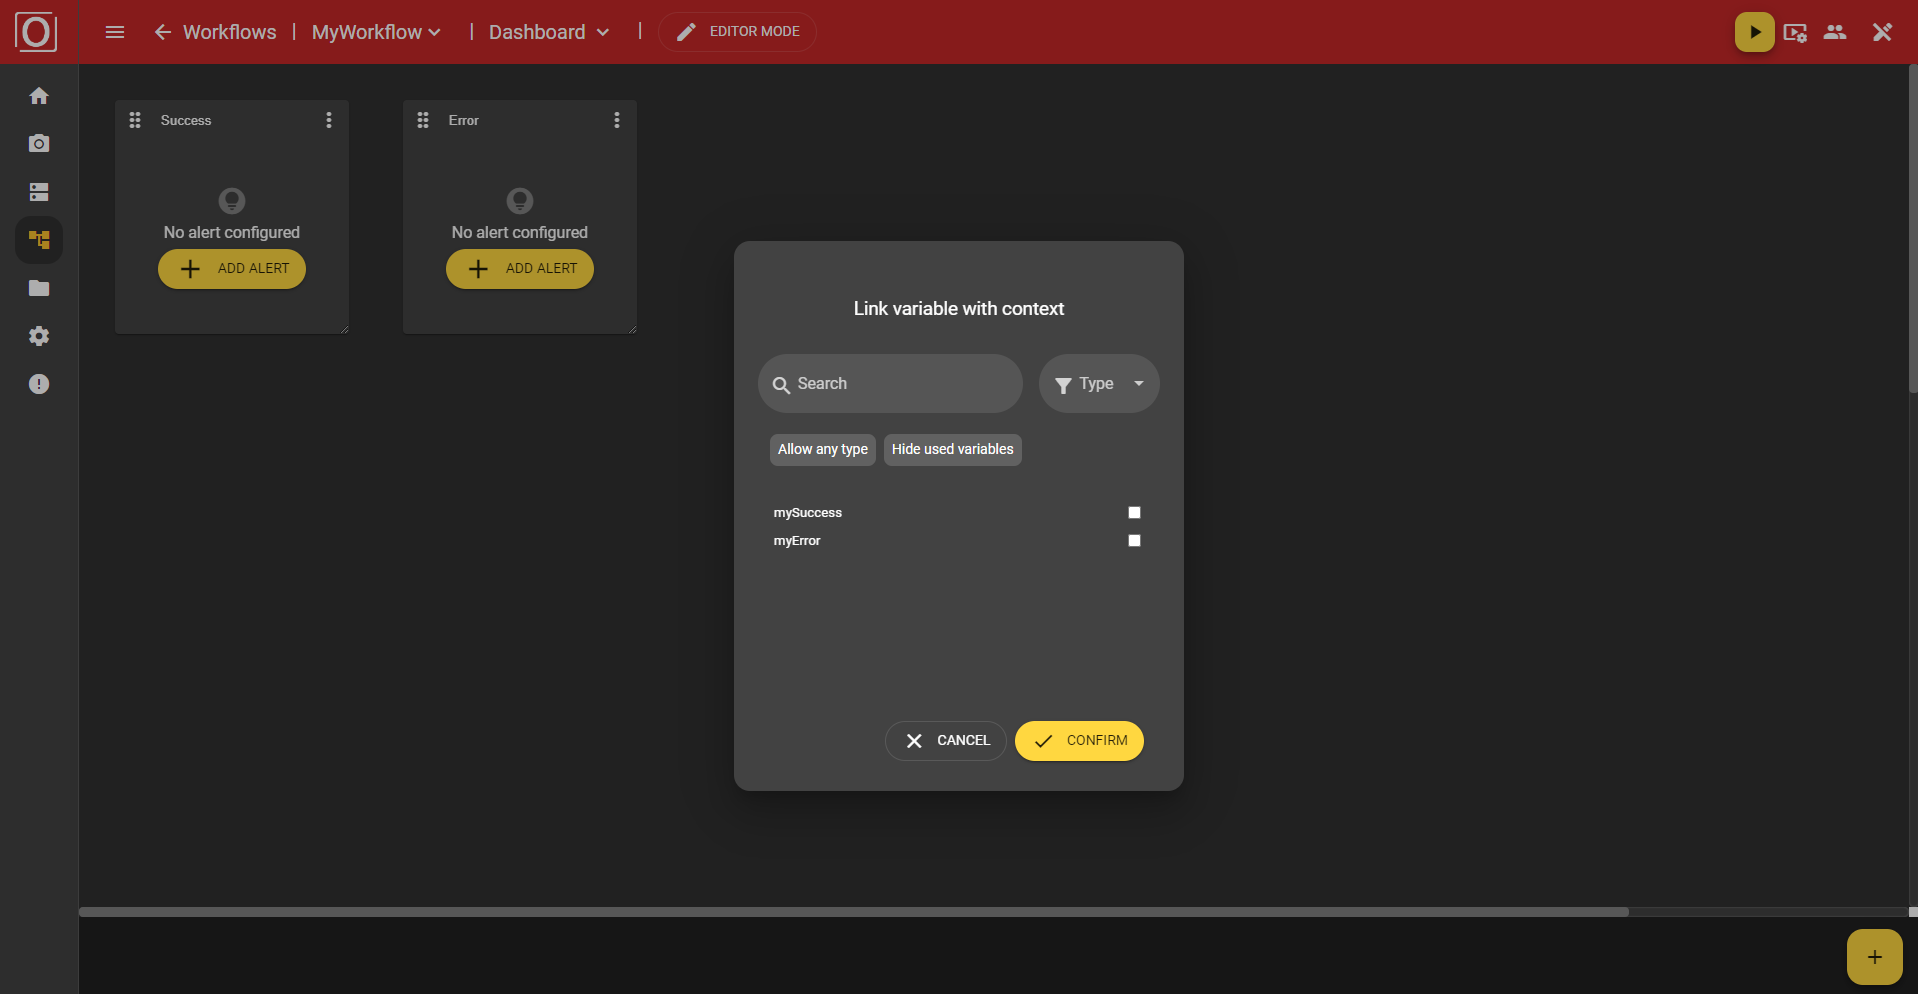
The Alert Widget is intended to place greater emphasis on displaying results. The state is recognized more quickly than by the result-related frame color. When you click the “Add Alert” button, the previously mentioned dialog titled “Link variable with context” appears. There, all variables of the boolean type are displayed, and you can activate exactly one for the widget via a checkbox. After selecting a variable, close the dialog by clicking the “Confirm” button.
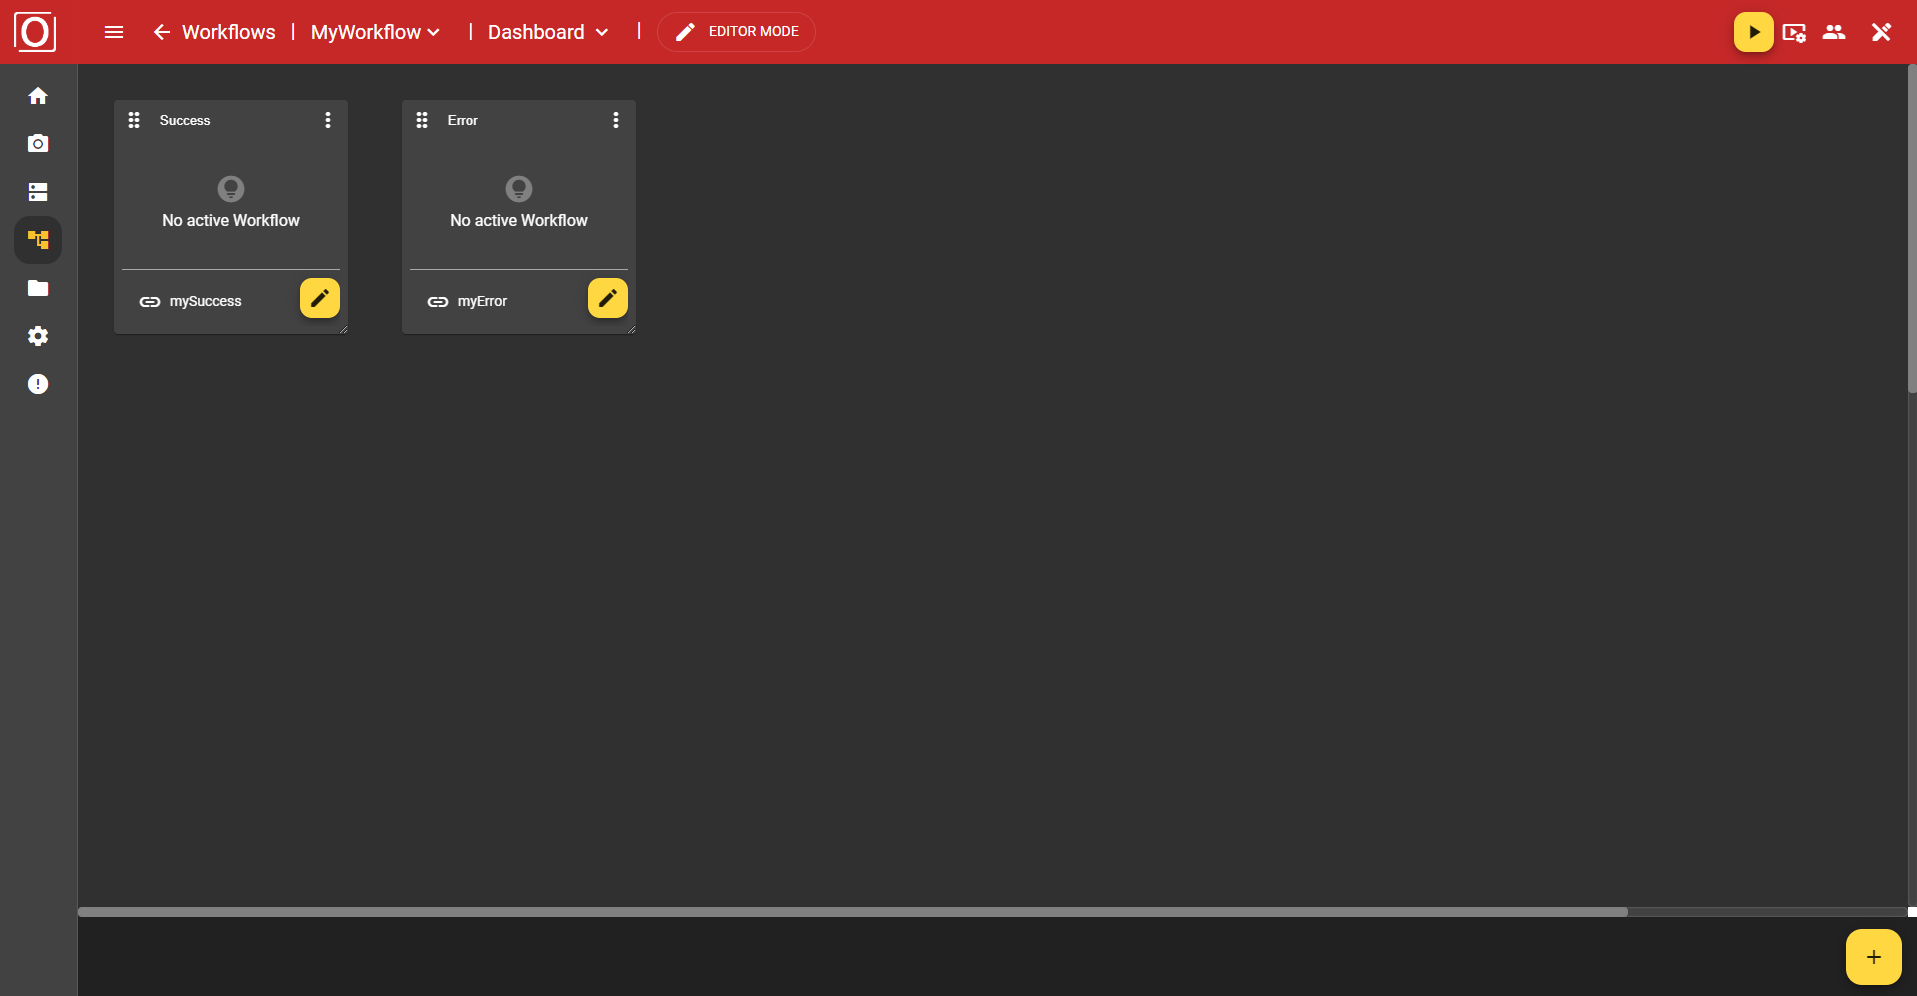
Once you have assigned a context to your widget, the view of your widget changes. You will not only see a changed message but instead of the “Add Alert” button, a new bar appears, which, next to the label of the selected variable, also contains a yellow button with a pencil icon. Both clicking the button and the label of the selected variable allow you to edit your selection.
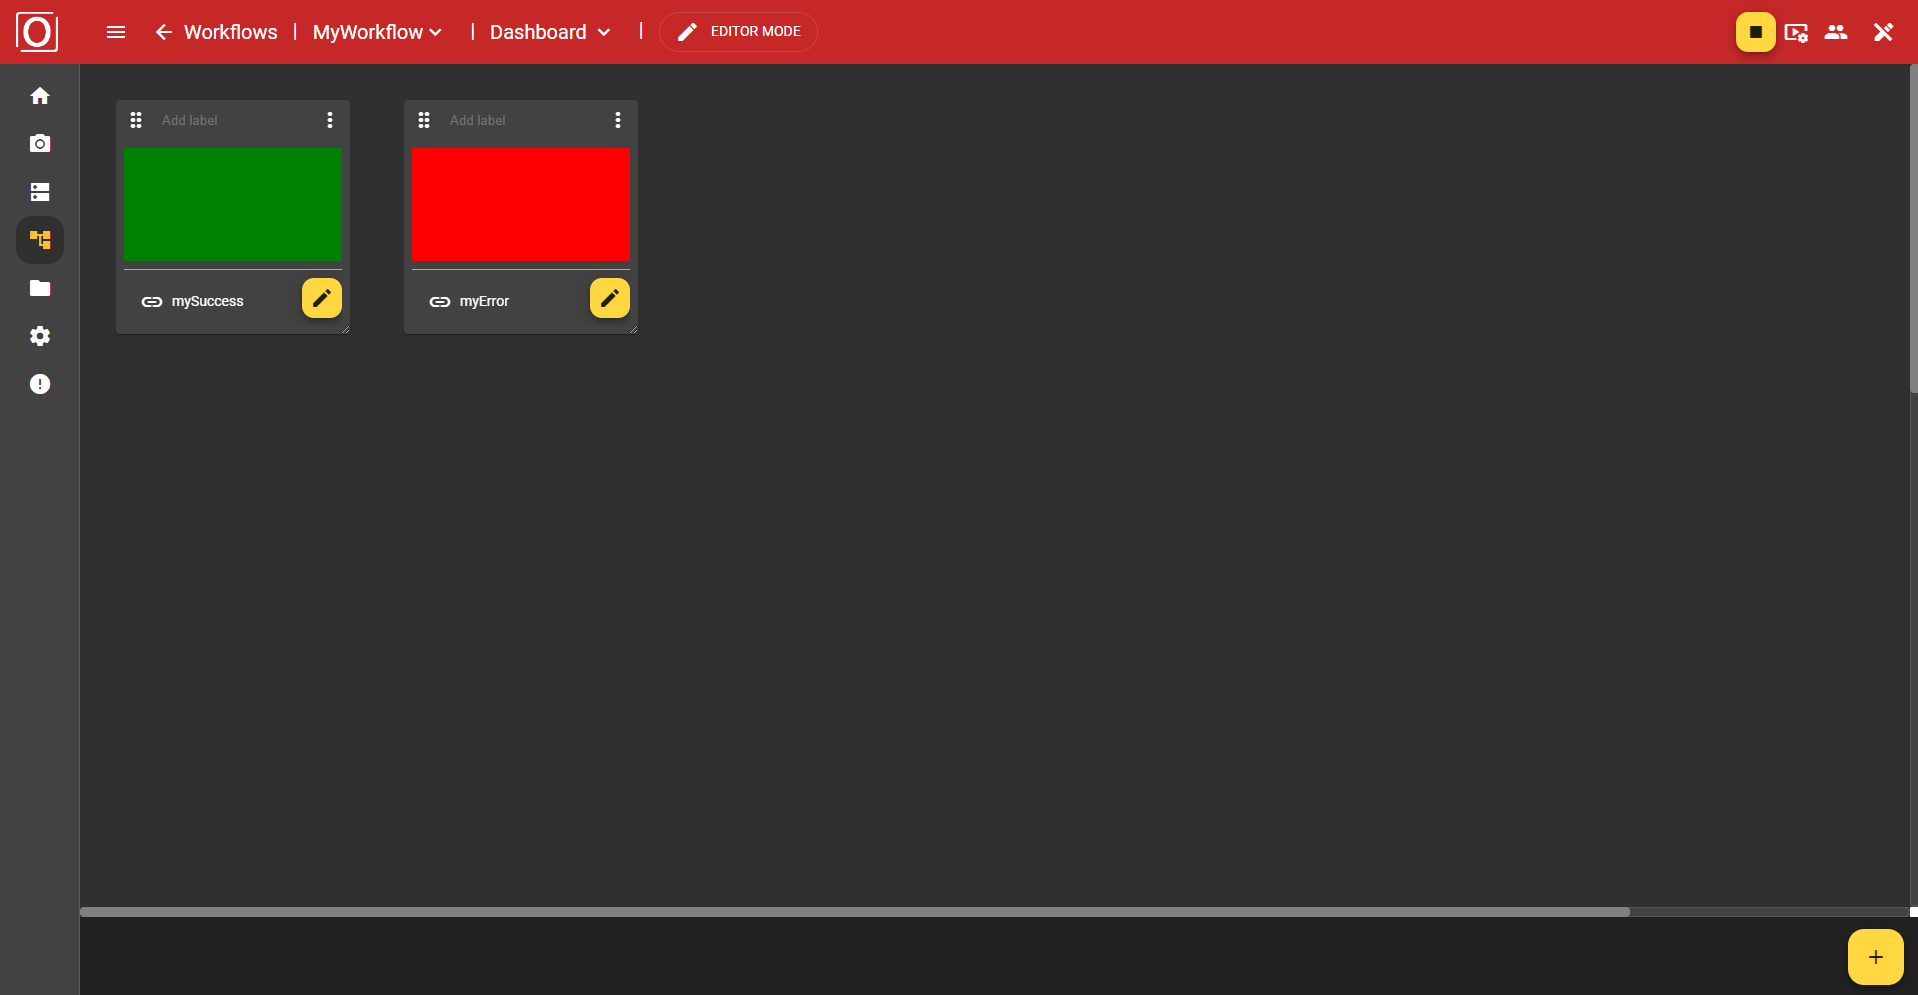
Since your Alert Widget is now fully configured, you can start the workflow. In case of success, the widget's content will be filled with green, in case of error with red. If no value is present yet, a yellow fill will be set.