First steps in VISIONWEB
This chapter covers the web interface. Learn how it is structured and what options it offers you.
Home Screen
By default, you land on the home screen. From here, it is easy to switch to other menus. The tiles on the homepage also allow you to access additional menu items.
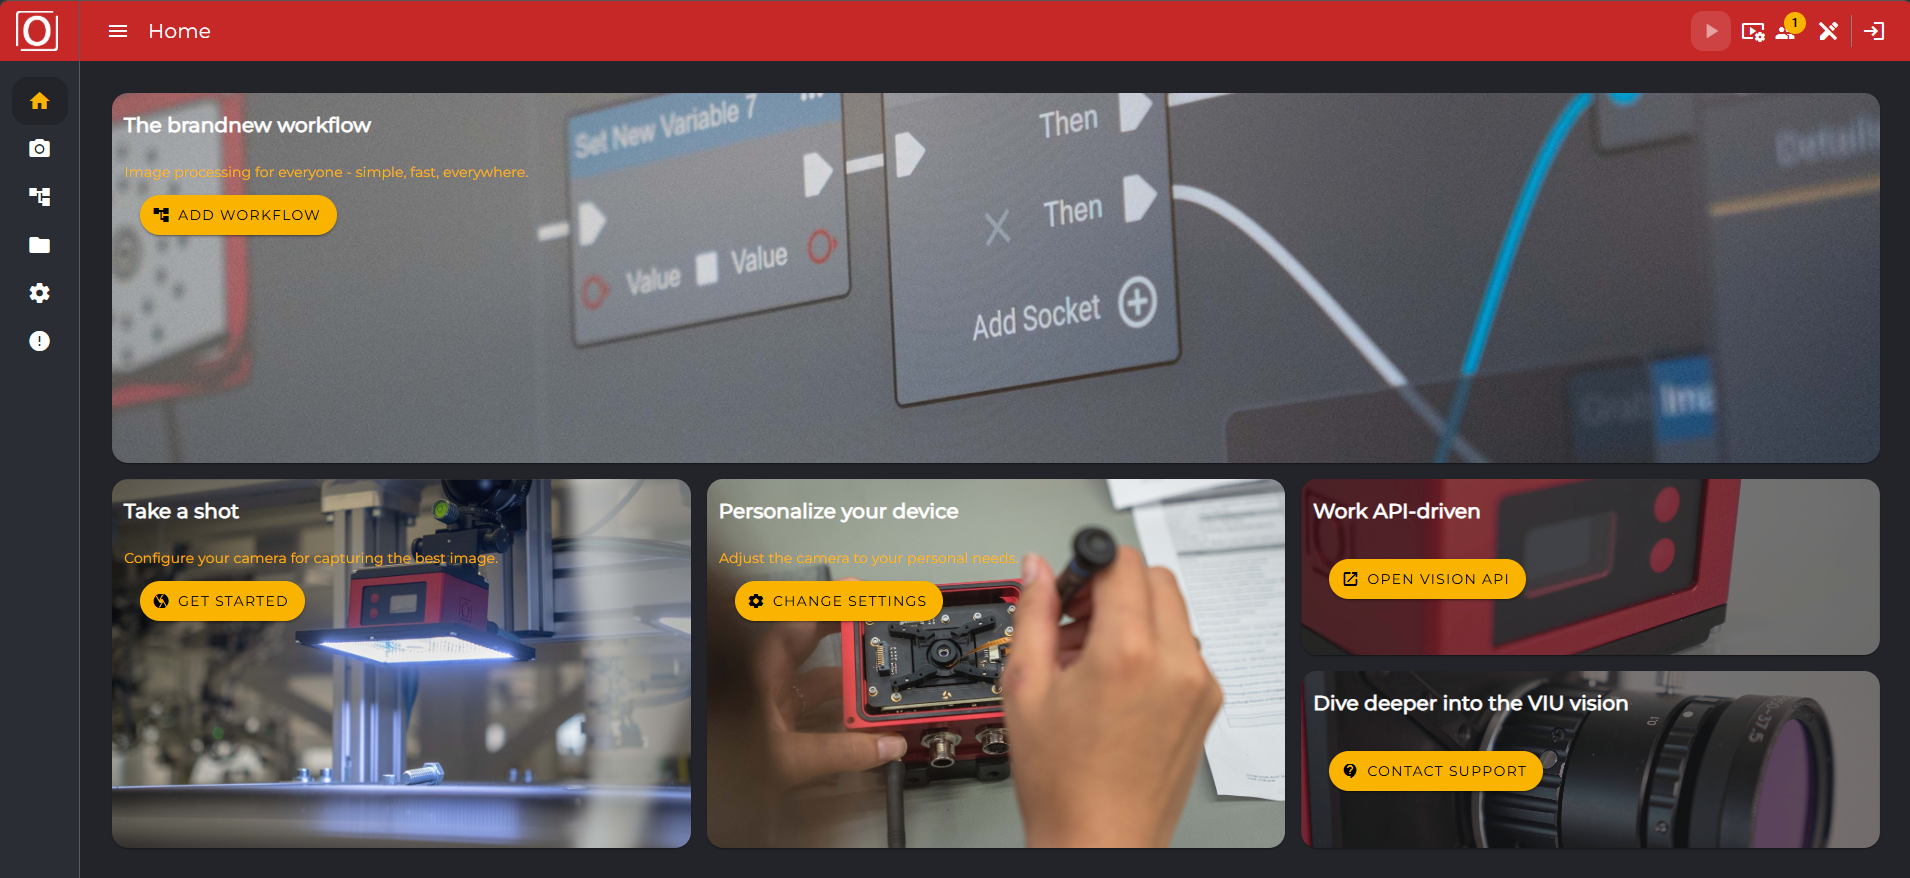
Header
In the top right corner, you can claim the edit mode for yourself. Only after you have clicked the edit icon can you perform actions.
To the left of that, you will see how many users are currently on the camera.
At the icon next to it, you can adjust settings for the image format and image quality. This relates to the recording in the image source.
On the far right, separated by a vertical line, is the button to log in as a user. For example, if you want to perform an action that requires administrator rights, you can open the login dialog via this button.

If you are not currently on the Home Screen but in one of the other areas, then you can see additional icons. These are explained in more detail in the respective sub-items.
At the top left, you can see which menu item you are in. On the icon to the left of it, you can expand and collapse the menu

Menu
In the menu, you can navigate between all the items you need to optimally use your Smart Camera. The individual menu items are explained in more detail under the respective chapters in this wiki.

Current Stream Overview
Below are links providing an overview that shows which stream and configuration are currently active.
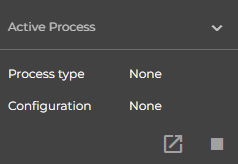
With the pause symbol, you can stop the current stream, and with the symbol to the left of it, you can go directly to your active stream.
Footer
Here you will find information about your camera. This includes, for example, the software or operating system version, the name of the camera, or the current usage. You can specify exactly which information you want to see here in the settings under Customization.
