
In this chapter you will find out what you can use the file system for and what functions it offers.
Introduction
You can store any number of files and folders in the File System as long as you do not exceed the storage capacity available on your camera. You can save your own images in the file system or carry out feasibility analyses using sample images. You can now even watch videos in this area.
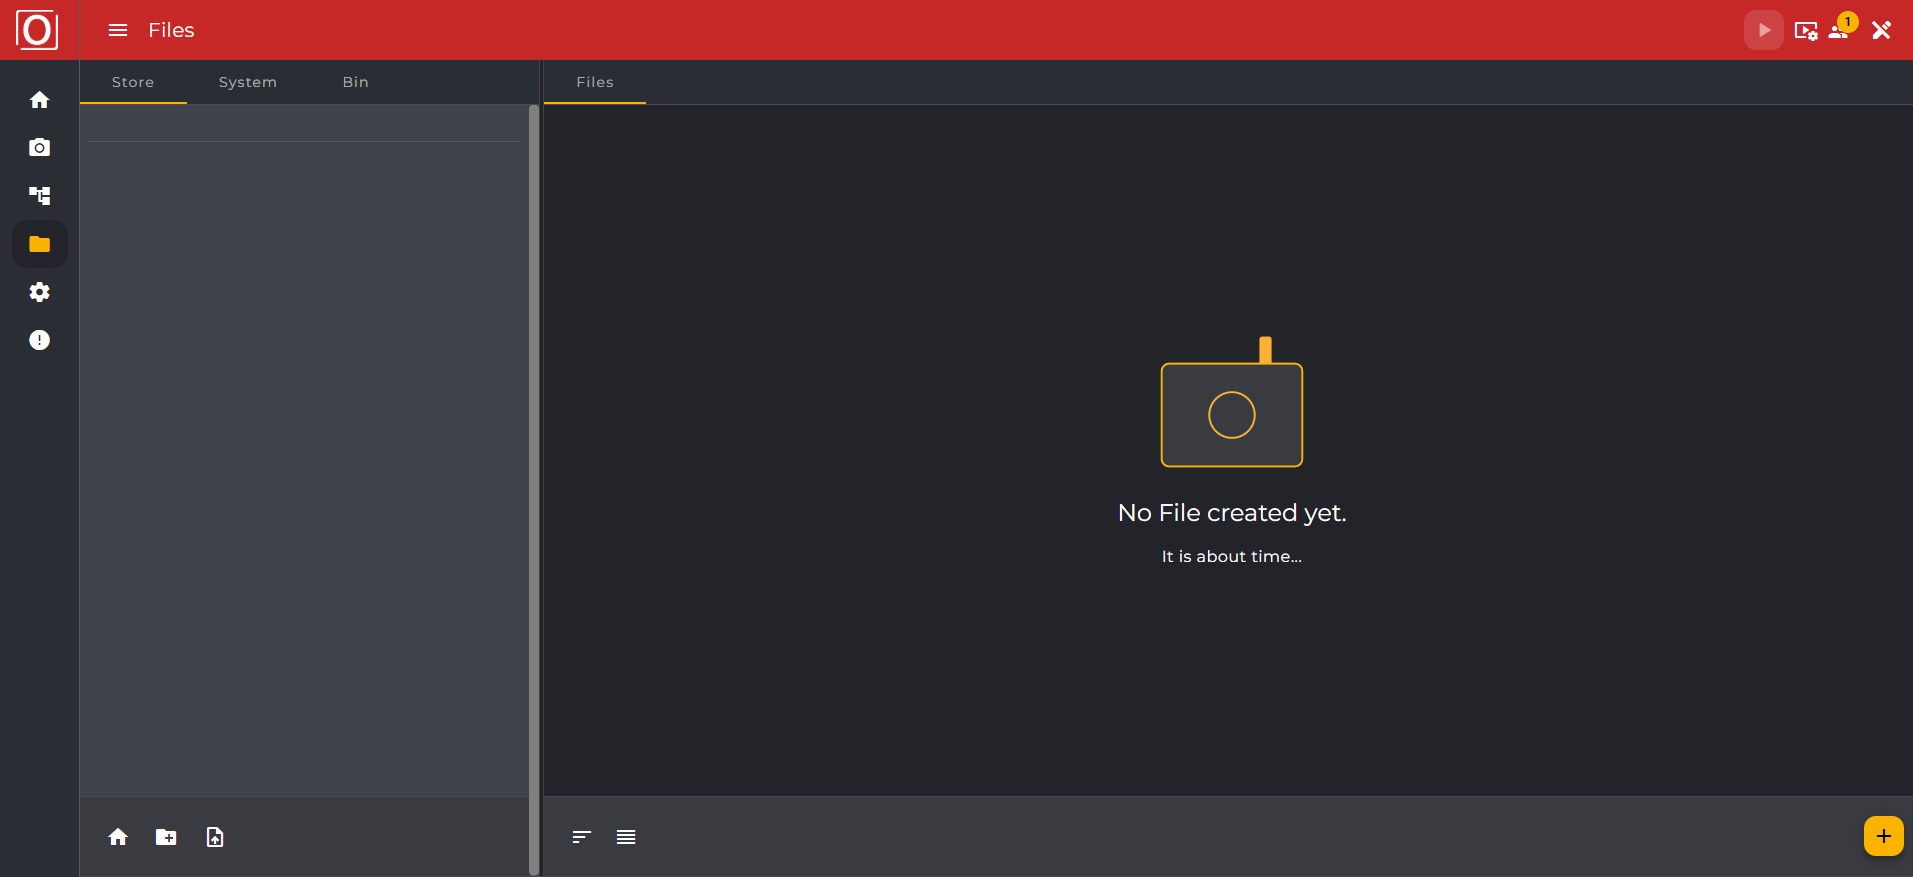
On the left-hand side, you can see all current folders and, below them, individual files that are not in a folder. On the right-hand side, you can see the folders and the files in the folders. If there are no folders or files on your camera, you will see a blank screen. With just a few clicks, however, you too can breathe life into your file system, as we will show you in the next steps.
Manage storage areas
With the storage area selection you can switch between the internal storage of your evoVIU camera and an external storage medium (e.g., an SD card). This allows you to manage your files in separate areas and always keep track of the origin of your data.
Selection of the storage area
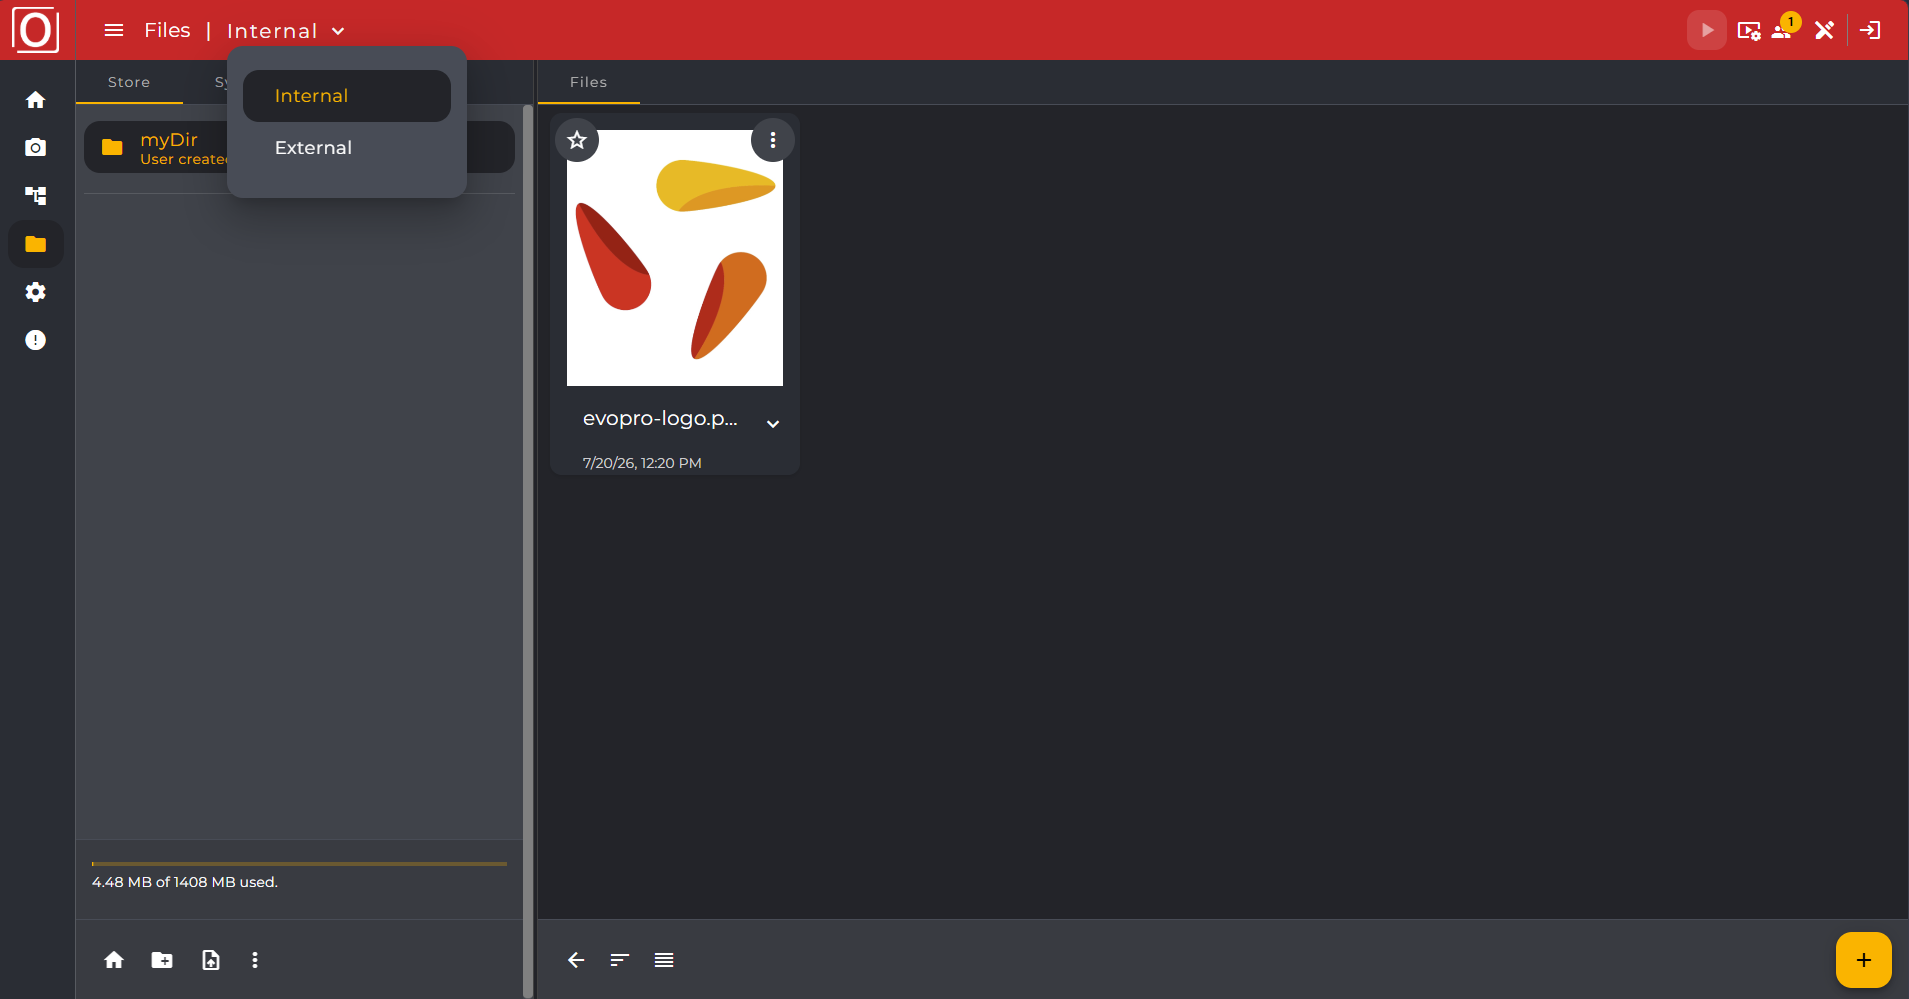
In the Top App Bar you will find, next to the label Files, a selection component that allows you to switch between Int. Storage (internal storage) and Ext. Storage (external storage). The design and interaction logic correspond to the workflow selector you are already familiar with.
When opening the File Store, Int. Storage is active by default. You will see only the files and folders of the internal storage.
Switching Between Memory Regions
To switch between the memory areas, proceed as follows:
-
Click in the Top App Bar on Ext. Storage or Int. Storage.
-
The view switches to the selected storage area without reloading the entire application.
-
Only the contents of the selected area are displayed.
Important: A mixed display of internal and external files is excluded. The switch occurs without layout jumps or flicker effects.
Level Indicator
At the bottom of the screen in the file system area (lower left corner) you will find a capacity indicator. This shows at a glance how much storage space on the currently selected storage medium is used and free. This lets you detect impending storage shortages early and respond in time.

Displayed Information
The fill level indicator contains the following key figures, related to the currently active storage medium:
|
Key figure |
Description |
Example |
|---|---|---|
|
Used (%) |
Percentage of occupied storage space |
32 % |
|
Free (GB) |
Free space in gigabytes |
5.44 GB |
|
Total (GB) |
Total capacity of the storage medium |
8.00 GB |
The text display in the footer area is in the form:
{Used GB} of {Total GB} used.
Example: „2.56 GB of 8.00 GB used."
The values are internally consistent: Used (GB) + Free (GB) = Total (GB) (within a reasonable rounding tolerance).
Folder structure on external storage
The folder structure on the external storage medium matches the structure you know from the internal storage. The following directories are present on the external storage:
|
Directory |
Description |
|---|---|
|
Store |
User-generated files and folders |
|
System |
Files managed by the system |
|
Bin |
Deleted files for tracking |
This consistent structure ensures that you can immediately find your bearings regardless of the storage area chosen.
Behavior when external storage is missing
If no external storage medium is detected (e.g., no SD card inserted), the application displays an empty state when Ext. Storage is selected:
-
Title: „No external storage available"
-
Note: “No external storage device was detected. Please connect an external device and reload the view.”
In this state no files or folders are displayed. Only after inserting a storage medium and manually reloading the page do the contents become visible.
Filling the file system
Navigation
All existing folders and files are listed in the navigation on the left-hand side of the screen. You can also create folders and upload files there. If you are already in a folder, you can navigate back to the starting point at any time.
Bottom App Bar
In the Files tab, you will see a bar at the bottom of the screen with a yellow button and plus icon. If you use this button, a dialog opens in which you can select and upload a file from your own system. You can also change the view in the bottom app bar and switch between the grid and table view.

Saving files
You can save and manage files in different ways. In the next step, we will show you in detail how you can store files in the file system.

Creating folders
User-generated folders
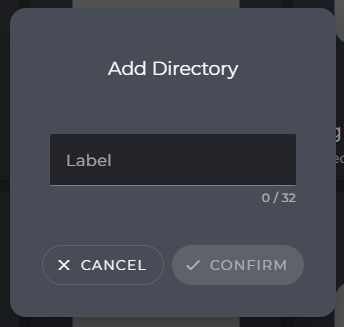
As previously mentioned, you can create folders yourself via the navigation. To do this, simply click on the folder symbol with the plus sign. Please make sure that the name of your folder is unique, uses only valid characters and is within the permitted minimum and maximum length.
Automated Folders
Folders for image sources are not created when the image source is set up, but only when the first image is actually saved. This behavior is referred to as "just-in-time folder creation" and keeps your file system lean by having only directories that are in use.
How it works
If you create a new image source, nothing initially happens in the file system. Only when an image is successfully saved for the first time does the system automatically check whether the corresponding target folder exists on the configured storage medium:
-
Folder not found: The system automatically creates the folder and saves the image in it.
-
Folder already exists: The system continues to use the existing folder. No new folder will be created.
This behavior applies equally to Int. Storage and Ext. Storage.
Behavior on Storage Location Change
If you later change the configured storage location of an existing Image Source (e.g. from Int. Storage to Ext. Storage or vice versa), no folder will be created in advance on the new storage medium. The just-in-time logic also applies here:
-
You change the storage location of the image source in the settings.
-
Upon the next save of an image, the system checks whether the destination folder exists on the new medium.
-
If it does not exist, the folder will be created automatically and the image will be stored in it.
-
If it already exists, the existing folder will be reused.
Important: Existing folders on the previous storage medium will remain and will not be automatically deleted or moved.
Folder labeling in the navigation
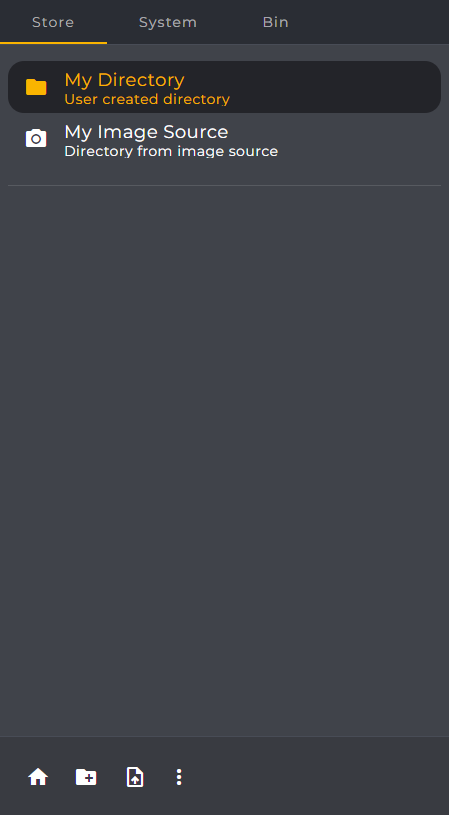
Where the available folders are listed in the navigation, you will find a description next to the folder name. The note “Directory from image source” marks all folders that were created by an Image Source – regardless of whether the creation happened immediately or just-in-time.
Error behavior
If an error occurs while automatically creating the folder, the image will not be saved. Possible causes are:
|
Error situation |
Behavior |
|---|---|
|
External storage medium not available (e.g., SD card removed) |
Error message is displayed; no folder is created |
|
Missing write permission on the storage medium |
Error message is displayed; no folder is created |
|
Storage full |
Error message is displayed; no folder is created |
In all cases you will receive an error message through the application. Your existing data and folders will remain unaffected.
Uploading files
As already mentioned, files can be uploaded to the file system via the bottom app bar or the menu in the navigation bar. You can also drag and drop files in the Files tab. This function is possible both in general and in a folder selected by you.
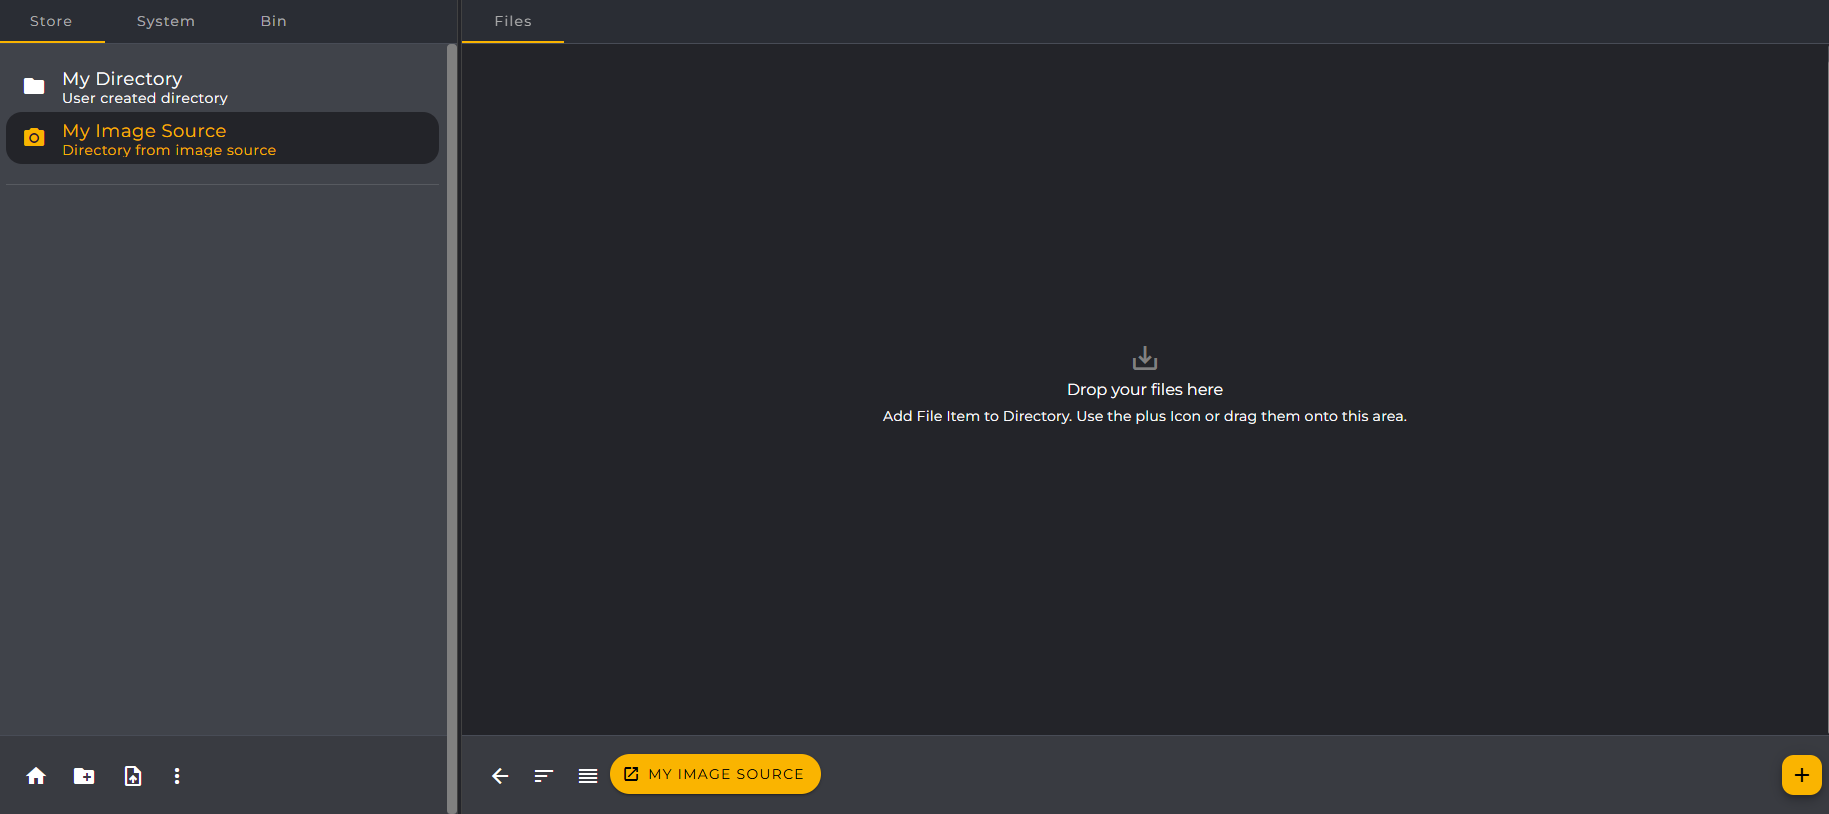
Functions within the file system
Managing folders
To be able to manage folders, you must first select a folder. An icon with three vertically aligned dots then appears in the bottom right-hand corner of the navigation bar. Behind this is the folder menu. You can use this menu to change the name of your folder, download the contents of the folder or remove the folder.
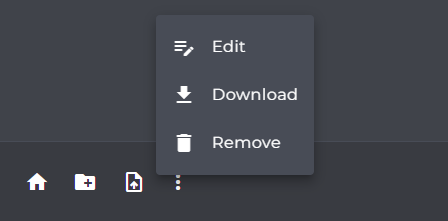
File management
As soon as you have uploaded a file, it is displayed in the Files tab. You can use the menu with the three vertically arranged dots to manage the files. You have the option of editing the file name, removing the file, downloading it or viewing it in preview mode.
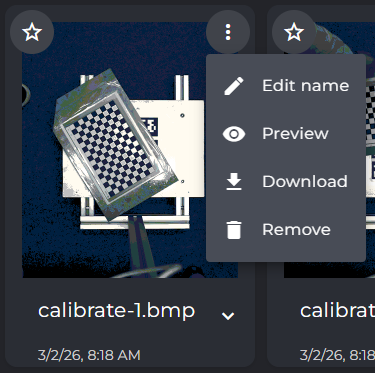
Preview mode
There is currently an additional preview mode for image and video files. Here the image is displayed in large size. You can also use this to download or remove the file. If you have captured the image via the image source, you can also view the settings made during image capture on the right-hand side of the screen.
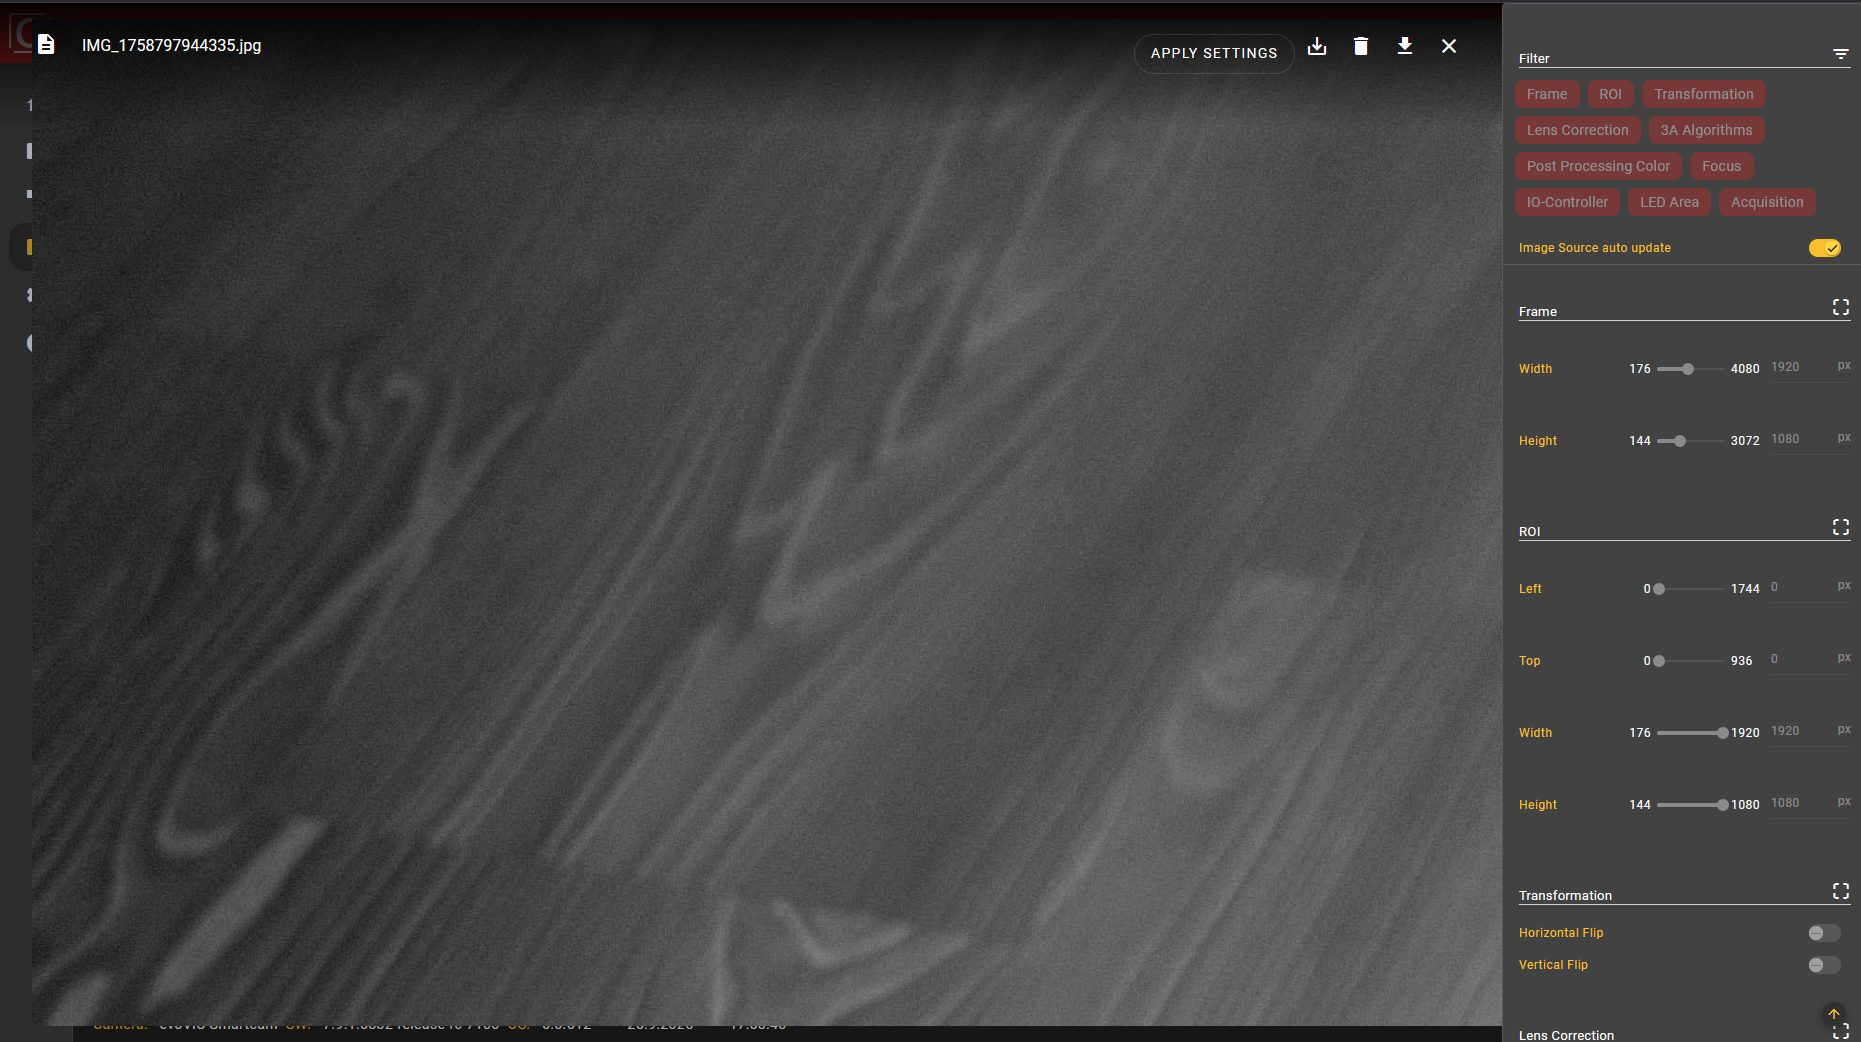
Marking Files as Favorites
The Favorites feature allows you to mark important files in the File System so you can find them faster. A yellow filled star instantly shows you which files you have saved as favorites. To mark files as favorites, you must be active as an editor. If you do not have the necessary write permissions, the feature is disabled and the button is grayed out.
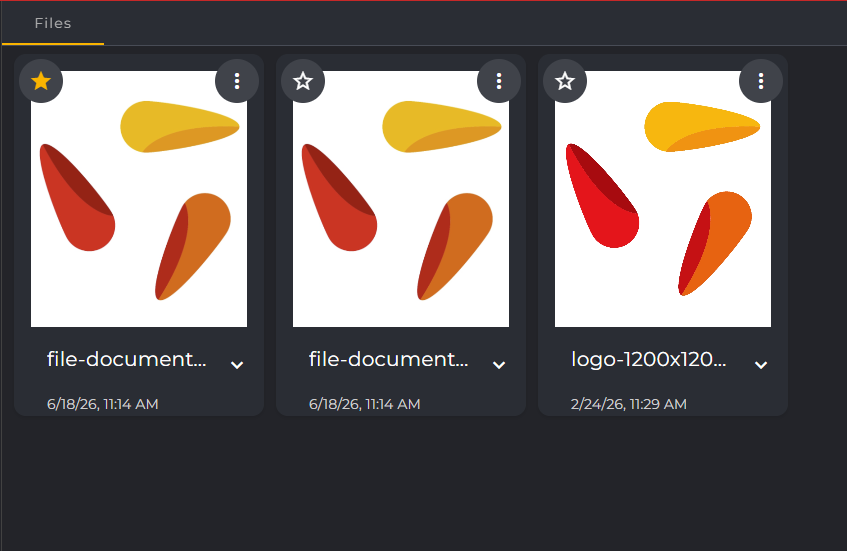
Step-by-step guide:
-
Navigate to the Files section in the main menu.
-
If necessary, select a folder to display the files contained within it in the tile view.
-
In each file tile, there are two circular buttons located at the top:
-
Top left: the Favorites button (star icon).
-
Top right: The menu for additional actions (three-dot icon).
-
-
Click on the star at the top left to mark the file as a favorite.
-
Visual feedback: The star is filled yellow inside the dark circle.
-
Confirmation: A confirmation message (Snackbar) briefly appears at the bottom of the screen with the text: "Successfully marked as favorite."
-
-
To remove a marking, click the yellow star again. The icon will then switch back to the view of an unfilled star outline.
Use of the files
If you want to access the files from another location in the application, you can click the folder icon in the appropriate places. You can find this icon, for example, in the workflow when configuring a File Image Source component or when you want to edit an annotation.

Storage selection in the File Picker
When opening the file picker dialog, you can use a segmented button at the top of the window to specify from which storage area you want to load files.
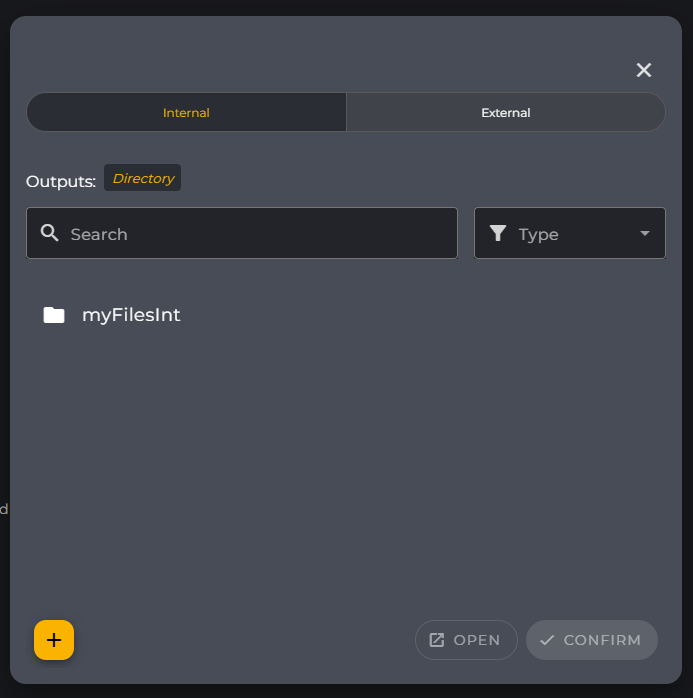
The following options are available:
-
Internal: Displays all folders and files of the internal storage (default setting when opening).
-
External: Displays the contents of a connected external storage medium (e.g., SD card).
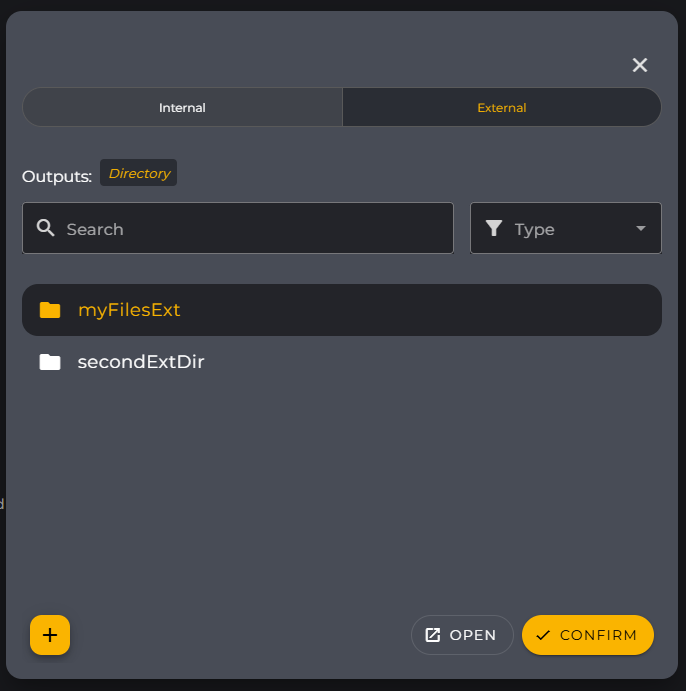
To switch the storage area, simply click the corresponding button in the Segmented Button. The file list will be updated immediately and will show only the contents of the selected medium.
The External option can only be selected if the system has detected a valid external storage medium. If no medium is connected, the button is shown greyed out (disabled).
You can also use the search function in the dialog to select a folder. As soon as you navigate into a folder, the input in the search function is automatically reset to ensure the display of the files contained within it.
Scan Files
Hidden files / System
If you have not stored all folders and files on the camera system via the web application, you can add further files to your file system via the System tab. First use the “Start Scanning” button to search for hidden files. As soon as folders or files have been detected, you can select them and either add them to the file system or remove them from the camera system using the buttons at the bottom of the screen.
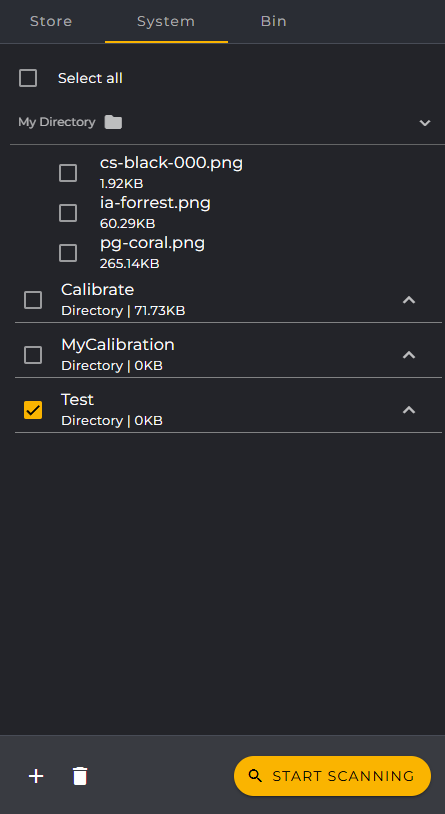
Deleted files / Bin
If you have created folders or files via the web application but deleted them via the camera system, you can trace the removed folders or files via the Bin tab. To detect deleted files, also use the “Start Scanning” button in the bottom bar of the tab.
