Image-Editor
The image editor should make it possible to optimize the process flow and image processing on the evoVIU with a single workflow. The information required for inspection should be marked on a realistic reference image and made available for use via various nodes in the workflow.
Configuration mode
Storing reference images
Reference images are required for the initial configuration of the image editor. Ideally, the image capture should be set up as best as possible at the beginning using an image source. The test images taken there can be saved in the Files area for further use.
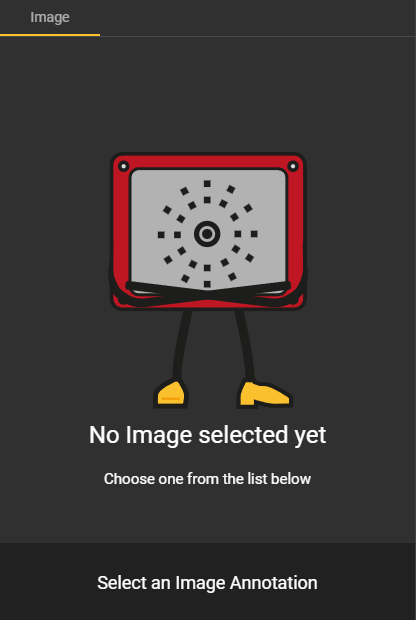
When you open the workflow with all its tabs, you will also see the “Image” tab. In addition to several toolbars, there is also a bar at the bottom that is initially empty and only contains a message saying “Select an Image Annotation.” Use the yellow button to select a folder that ideally contains the images from the previous recording. This ensures that you can draw annotations on highly realistic reference images as you continue. For more information on this topic, see “Image Toolbar.
Please note that you must be logged in to the camera as an active editor in order to perform all of these configuration steps.
Managing annotations
In order to mark image sections, we first need to create sets and annotations. Since each annotation must be assigned to a set, we start by creating an image annotation set.
Creating sets
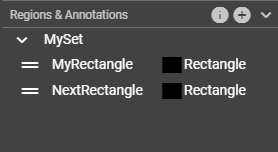
In the “My Workflow” tab, you will find the “Regions & Annotations” section, where you can create a new set. Without any additional settings, the set will initially be created as an empty set without annotations and will automatically be displayed in the list.
Creasting annotations
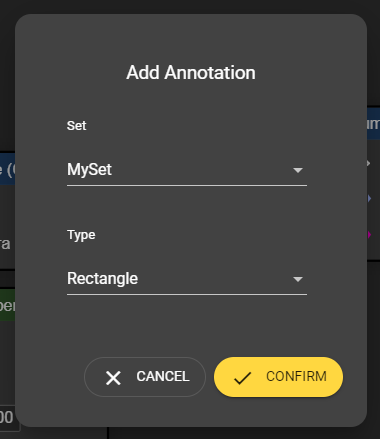
As soon as at least one image annotation set is available, an annotation can be created using the same procedure. In the creation dialog, you must assign the annotation to be created to a set. It is also necessary to select a shape so that it is clear how the annotation is to be displayed and which functions need to be provided for configuration.
Types of Annotations
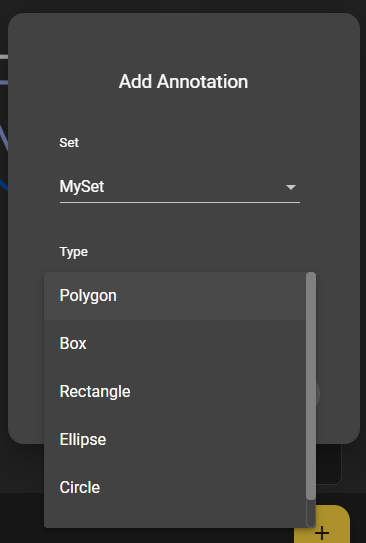
You can choose from a range of different shapes when configuring annotations. The following annotation types are currently available:
Box
Circle
Ellipse
Line
Polygon
Rectangle
Edit
You can also edit the sets and annotations you have created in this list. Double-click on the list entry to edit the existing entries. The changes are applied as soon as the focus is no longer on the input field.
Remove
If you no longer need an annotation, you can delete it by hovering over the entry with the mouse and clicking the trash can icon on the right side of the tab. A dialog box will then appear asking you to confirm that you really want to remove the annotation. You just need to make sure that the listed entries are not used as nodes in the workflow.
Removing sets has more far-reaching consequences. On the one hand, you must ensure that the annotations contained in the set are not used as nodes in the workflow. On the other hand, you as a user must be aware that removing a set automatically removes the annotations assigned to it. Regardless of the actions performed, once you have removed an entry, you can no longer view the table entry and, of course, no longer use it.
Using Annotations (Usages)
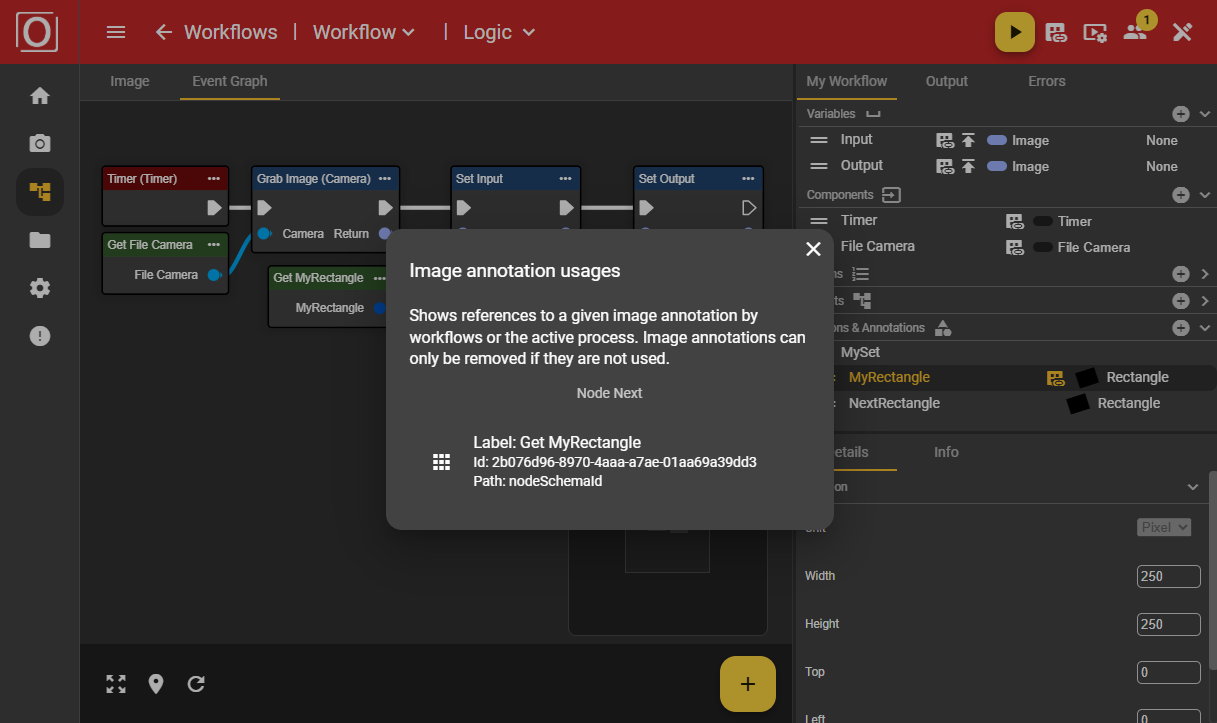
The Regions & Annotations area lists the annotations you have created. As soon as a workflow is filled with a node that maps an annotation, the annotation is considered to be in use. Once an annotation is in use, it cannot be deleted. Deletion is only possible if the node has been removed from the workflow.
Configuring Annotations
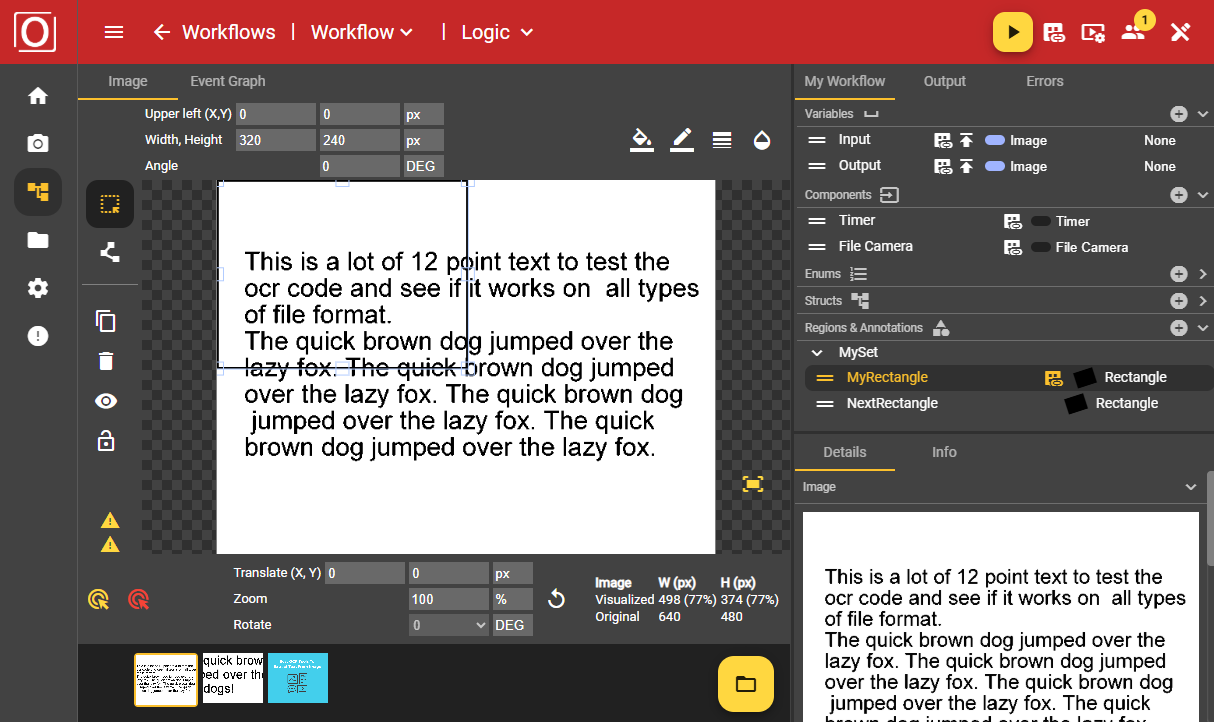
Image Toolbar
To configure annotations, you need to have created annotations and, most importantly, you need the “Image” tab in the workflow. We have already touched on what is required to use the image editor in the section “Storing reference images”. To fill and configure the image editor, you need the image toolbar, which can be found at the bottom of the “Image” tab as a narrow bar.
Initial selection of an image for configuring an annotation
Since we want to configure the annotation so that the correct data and excerpts are available for later operation, we recommend the following procedure for preparation:
Start the image source that you want to use later in the workflow.
Make sure that the stream settings (scaling and quality) are set to 100%.
Take a few pictures and optimize the settings of your image source.
Save the images that meet your expectations and quality standards.
If you have stored images in a folder, you can select them using the yellow folder button in the bottom bar. Once you have confirmed your selection, the image toolbar will be filled with the images contained in the folder.

Display properties of an image for configuring an annotation
Now select an image from this bar by clicking on it. The image will now be framed in yellow and displayed large in the middle of the “Image” tab. However, your selection is never final. You can select another image from the list at any time or even change the directory to access other images.

Using a button in the lower right corner (above the image toolbar), you can adjust the scale of the displayed image to suit your needs. We recommend the “Scale To Fit” option, as this ensures that the image is displayed in its entirety and in the correct aspect ratio without distortion. This way, you always have everything in view.
The “Original size” option displays the image in its actual size, which can mean that parts of the image are not immediately visible on smaller screens, but can be accessed using scroll bars. This display option is preferable if you need to work with great precision. The “Scale To Container” option makes full use of the available space in the tab, but this may result in a distorted display if the aspect ratio does not fit the available space optimally.
Advanced use of the Image Toolbar
To enable an even more realistic configuration, you can also start your workflow after the initial configuration. However, first make sure that you pass the images captured via the Grab Image node to a variable of type “Image” and that this variable is published. This allows you to save the last image captured by the workflow using the Save button in the Image Toolbar, regardless of whether it is at runtime or configuration time.
Configuring the position of an annotation
Assuming you have selected an image, you can now configure an annotation by selecting and clicking on a previously created annotation in the “My Workflow” tab. A shape will now be drawn on the selected image in the “Image” tab. You can now edit the position and size of this shape as desired. As soon as you shift your focus elsewhere, the settings you have made, in this case the coordinates, will be applied. You can continue working with this data in the workflow.
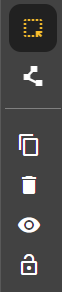
Shape Toolbar
At the top of the “Image” tab, there is a bar with various icons, the Shape Toolbar. These icons contain functions that can be used to adjust the selected annotation in terms of its visual appearance. It mainly serves to maintain an overview and allows you to better distinguish and view the annotations.
Configuring display properties of an annotation
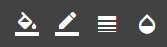
Frame
It is often useful to display annotation frames in different colors. This usually makes it easier to assign annotations. However, it can also be very important if the colors of the image and the initial frame color are too similar in terms of contrast. This can improve visibility.
Filling
You may also want to mark your annotation with a fill. The configuration and color selection can also be done by entering HTML color codes. It is also possible to reset the selected color. Instead of the fill, the content of the annotation is displayed transparently.
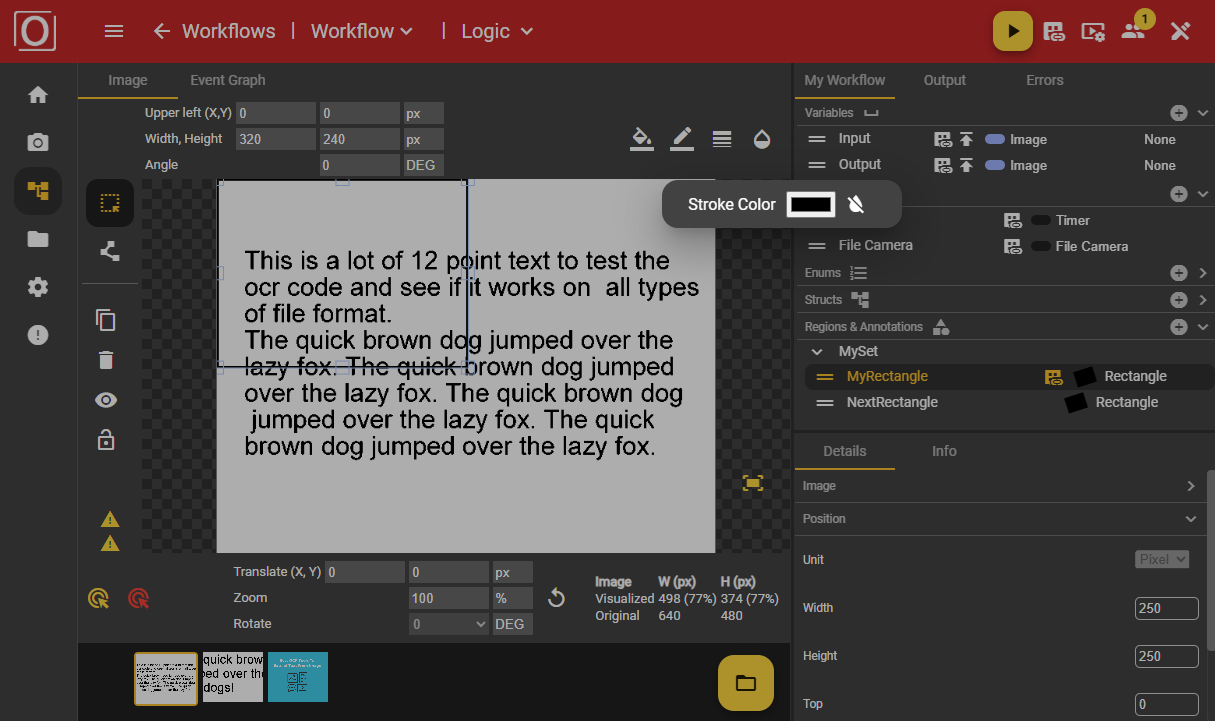
Opacity
To improve the contrast and visibility of individual annotations, adjusting the opacity of an annotation can also be a useful alternative. You can choose between 0 and 100% here.
Image Tool Selector
Selection and transformation
If an annotation and this tool are selected, you can configure the size and position of your annotation.
Path tool
If you have selected a polygon annotation, you can also use the path tool. This allows you to select individual points, reposition them, and add additional points at any location. To add additional points, double-click on a line. The new point will then be added.
Duplicate
Another useful feature is our duplicate function. If certain parameters of an annotation are relevant to you for another annotation, then duplicating the existing annotation is a good option. It also allows you to add annotations more quickly in general.
Remove
Of course, it is also possible to remove an annotation.
Visibility
If you lose track of things due to a large number of annotations in the image editor, you can hide the currently selected annotation. To show the hidden annotation again, select it in the “My Workflow” tab in the “Regions & Annotations” area.
Fixation
Once you are satisfied with the configuration of your annotation's positioning, you can also fix it in place. This prevents misconfigurations if you accidentally edit the annotation again in a moment of carelessness.
Use of the layer model
There are sometimes situations where several annotations overlap in terms of their position and coordinates. If you want to edit a specific annotation but it is covered by another annotation, the layer model becomes relevant.
This layer model places the annotations on top of each other in ascending order. This means that when you create a new annotation, it is placed at the bottom of the list in your set, starting from the layer model and moving up to the top position. You can change the order using the drag handle of the annotation in the list of annotations contained in the set.
Integrating annotations into the workflow
But how can you use these annotations in your workflow? Imagine you want to view only a specific part of the image for performance reasons when processing certain data. This specific part of the image ultimately corresponds to your annotation. In this case, use a “Crop By Shape” node.
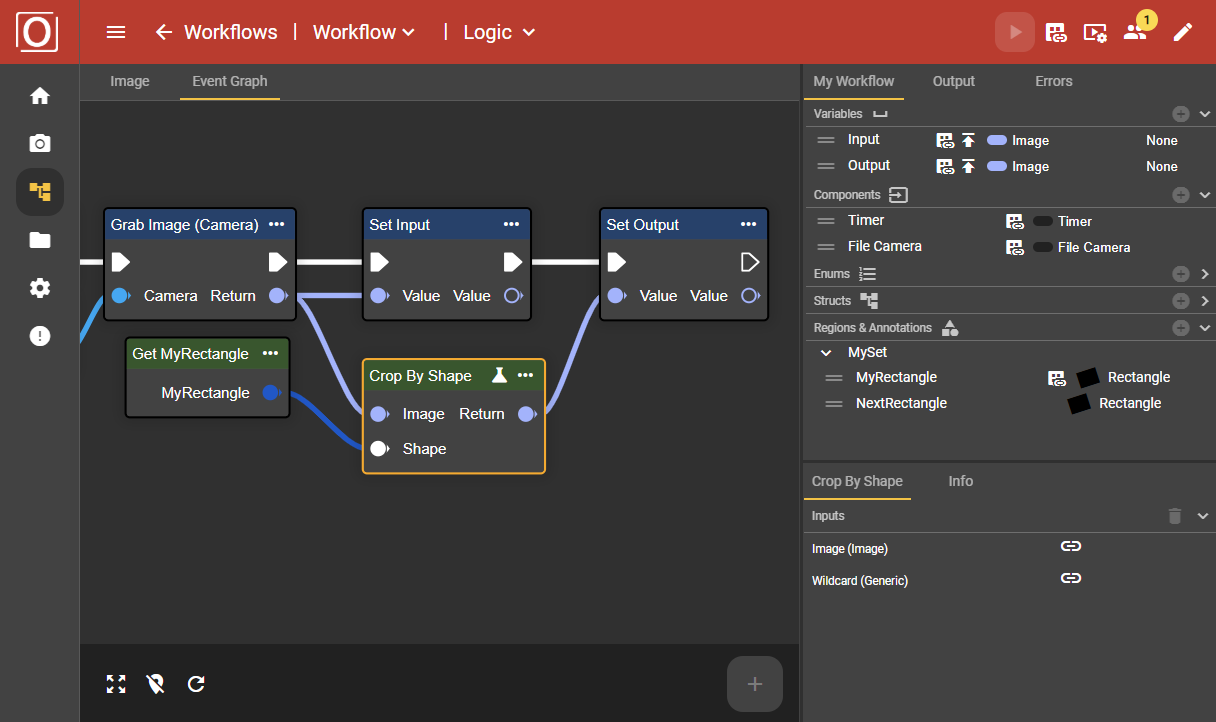
This node requires incoming data of type “Shape.” This could be, for example, an annotation of type “Rectangle.” The configured annotation can be added to the workflow as a node and can provide the required data of type “Rectangle.” This allows the annotation to be used effectively for data processing.
All annotations you have created are listed in the context menu of the workflow and can be added to your graph from there.
Live operation
The use of the image editor in live mode differs in several key ways from its use in configuration mode.
Creating image variables
To use the image editor in live mode, you need variables of the type “Image”. These must be created in advance in configuration mode. It is also important to subscribe to the value of the variable in the corresponding Details tab by setting the value of the “Publish Value” attribute to “true”.
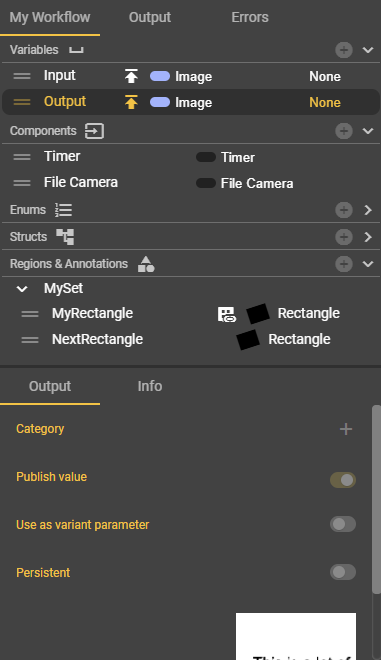
Subscribe to the value of at least one variable so that the variable can be added as a node in the workflow. The corresponding value of this variable can then be viewed in live mode in the “Image” tab. To do this, select the variable displayed as a thumbnail image in the lower bar.
Displaying annotations at runtime
Of course, you can also display annotations at runtime. All you have to do is make sure that an image and an annotation are selected. However, please note that it is currently not possible to edit annotations at runtime.
As mentioned earlier, you can also use real image captures to optimize your configuration by selecting an image captured at runtime and using the Save button in the Image Toolbar. A dialog box will then open where you can select a folder to store the image to be saved.