Variants
This chapter provides general information on how to manage variants in the workflow of the evoVIU camera.
With variants, it is possible to handle the process flow and image processing on the evoVIU for similar inspections using just a single workflow. The parameters required for the inspection of a node are filled with different values. When starting the workflow, you must confirm which variant should control the process. Once the process is running, switching between variants can be done via a dashboard widget.
By default, variants are initially deactivated. Variants are enabled as soon as at least one variable is marked as a variant.
Marking for Variants
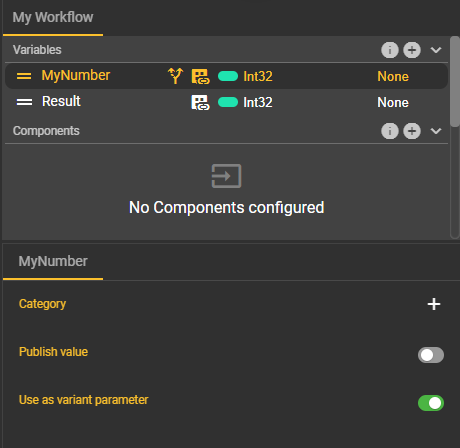
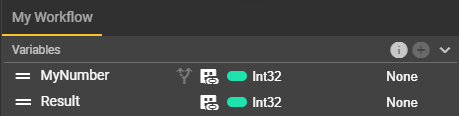
To use variants, variables need to be marked for variants. Once a variable is created and selected, for example, the value of a variable can be subscribed to in the associated details tab. Here, variables with primitive data types can be marked for variants. You can do this in the tab at the bottom right by selecting the option “Use as variant parameter.”
Once at least one variable has been marked for variants, the corresponding value can be viewed and edited on the overview page. Of course, you can also remove variables from the variants again. The condition for this is that the workflow is not active and the variable is not used in the workflow graph. Therefore, the same conditions apply as when deleting a variable.
The Overview Page
Accessing the Overview Page
In the menu bar, you can click on Logic and switch to Variants via the dropdown menu.

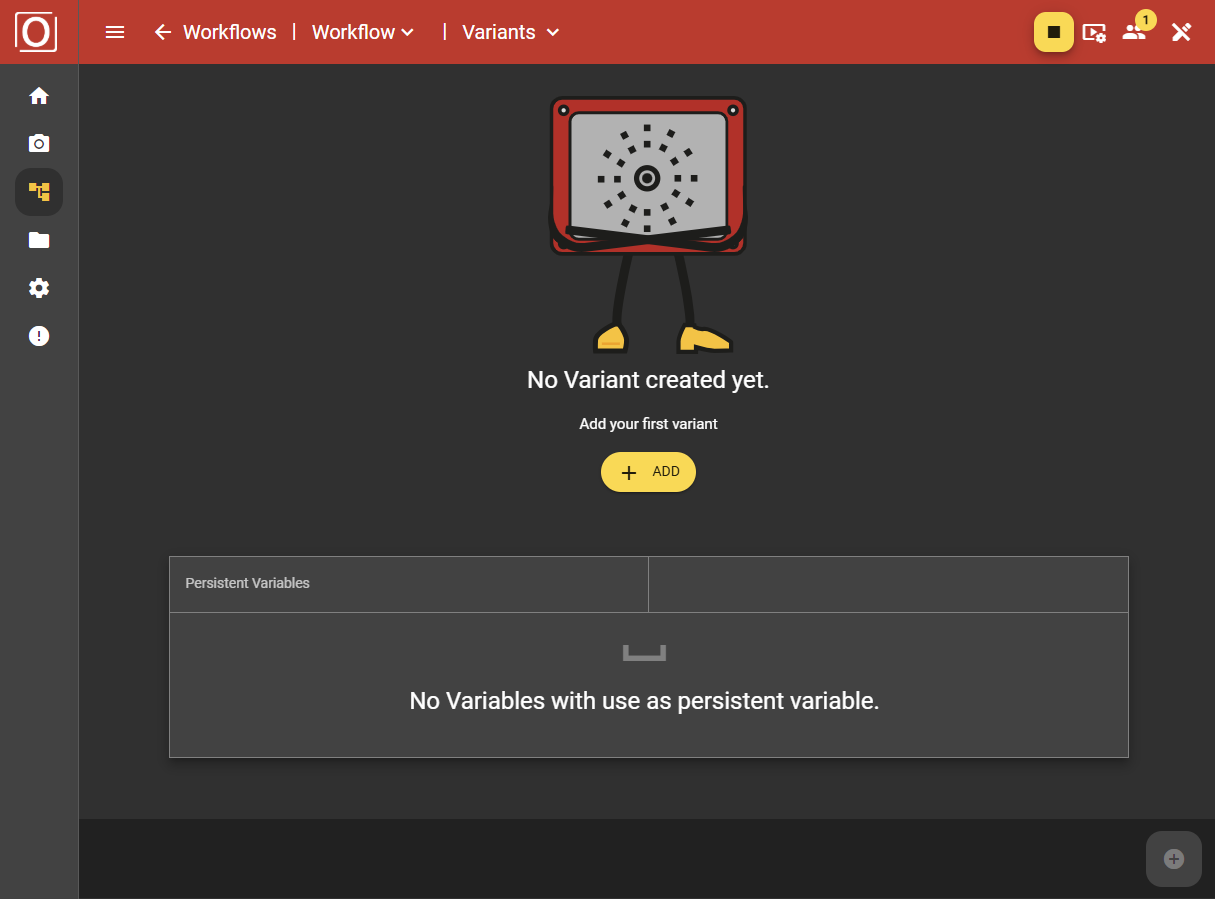
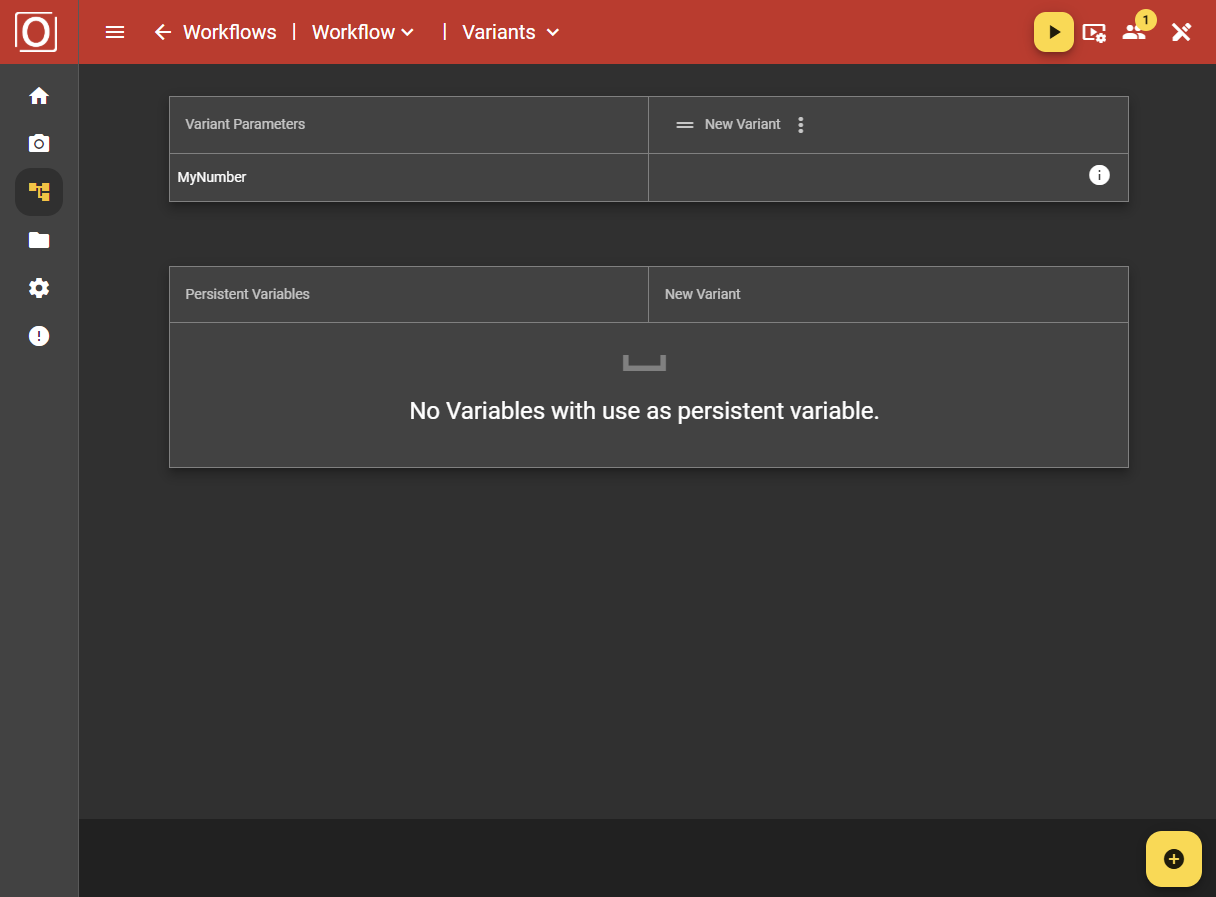
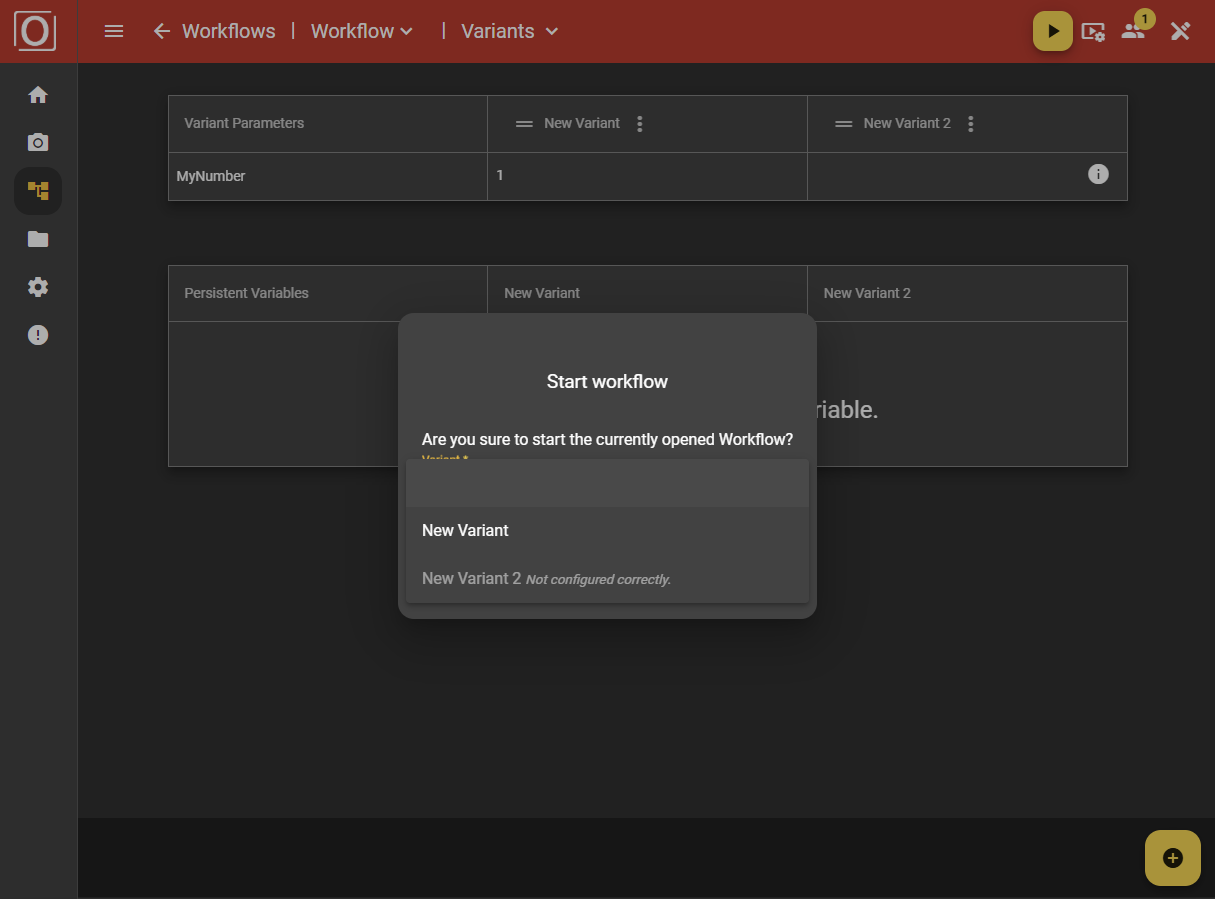
You will arrive at the overview page. Here, you can see a list of all current variants for the selected workflow, provided that at least one variant has already been added. This list includes a horizontal listing of the variants as well as a vertical listing of all variables or parameters marked for variants. In the cells of the table, the values of the parameters can be edited variant by variant.
Adding a Variant
To add a variant, click the plus icon in the bottom app bar. The table will then be expanded by a new, empty column titled New Variant.

Managing Variants
Using a three-dot menu, you can manage the selected variant. This includes editing the variant name, as well as duplicating, exporting, and deleting the variant.
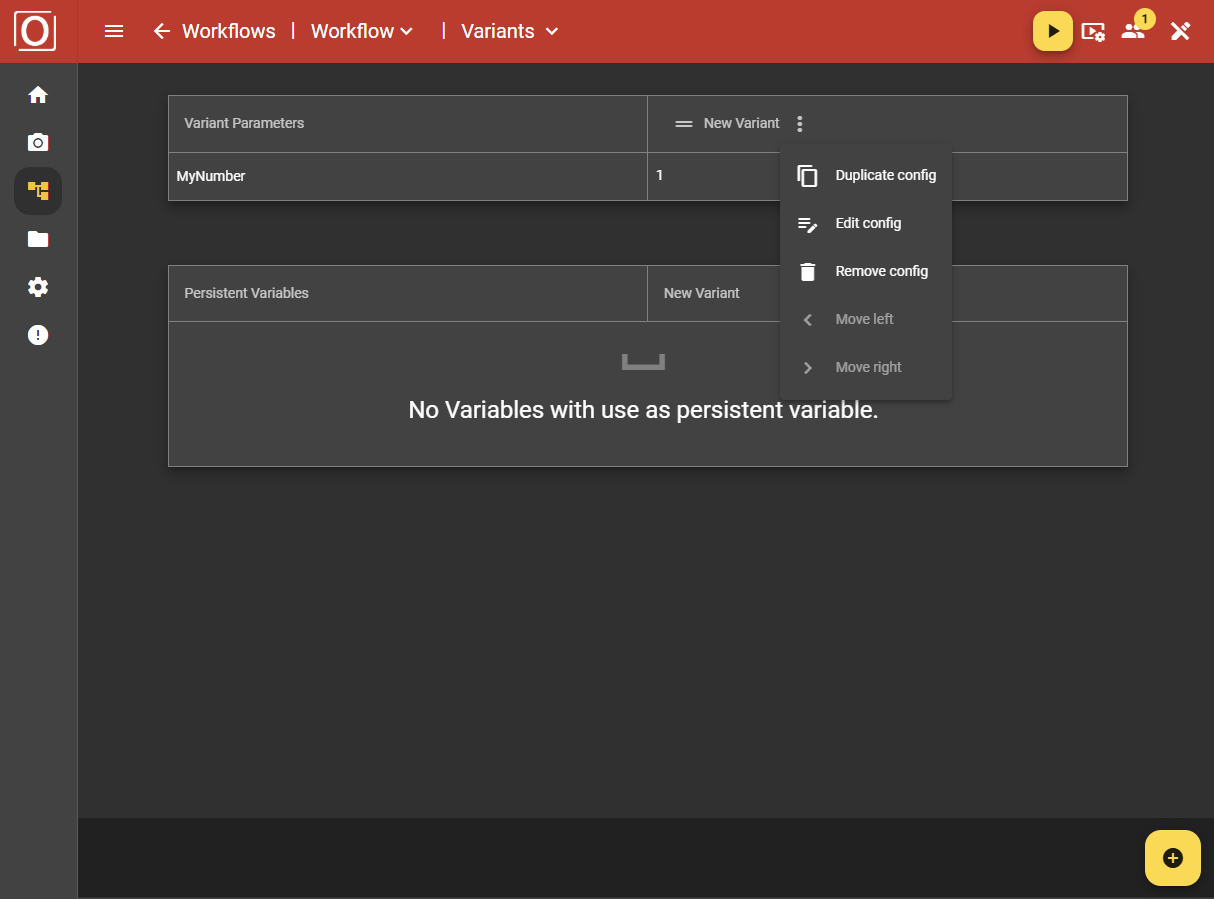
Duplicate
To duplicate the selected variant, you must enter a unique, valid name in the dialog box. Afterwards, a new variant with the same values will be created. This is helpful when you need an additional variant with only minor differences.
Edit
By choosing to edit the variant, a dialog box opens showing the name of the selected variant. This name can be changed in the dialog. It is important to enter a unique, valid name when making changes.
Remove
If you no longer need a variant and it is not currently active in the workflow, you can delete it. The table entry will then disappear and can no longer be used.
Usage of Variants
Once a workflow is started and active with a variant, there is exactly one usage of that variant. This means the variant cannot be deleted while in use. Deletion is only possible if the workflow is stopped and at least one other variant exists.
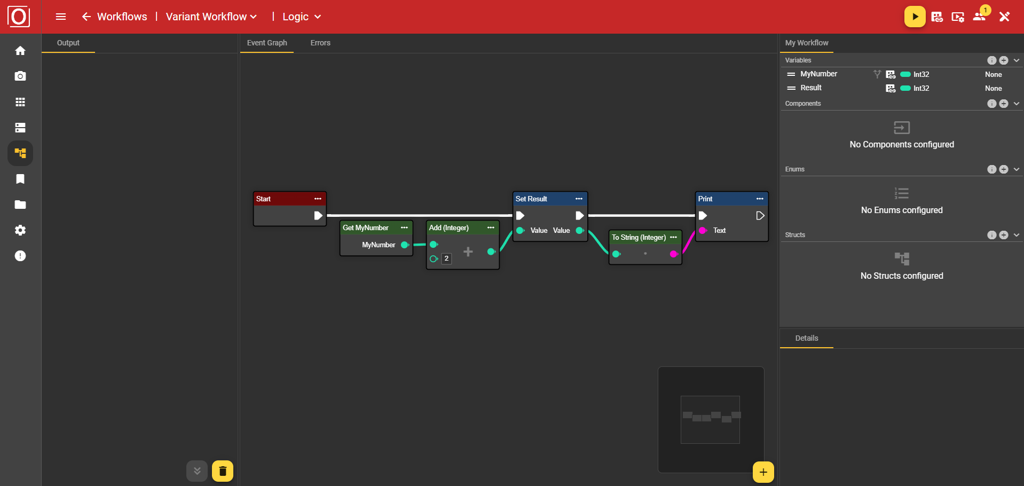
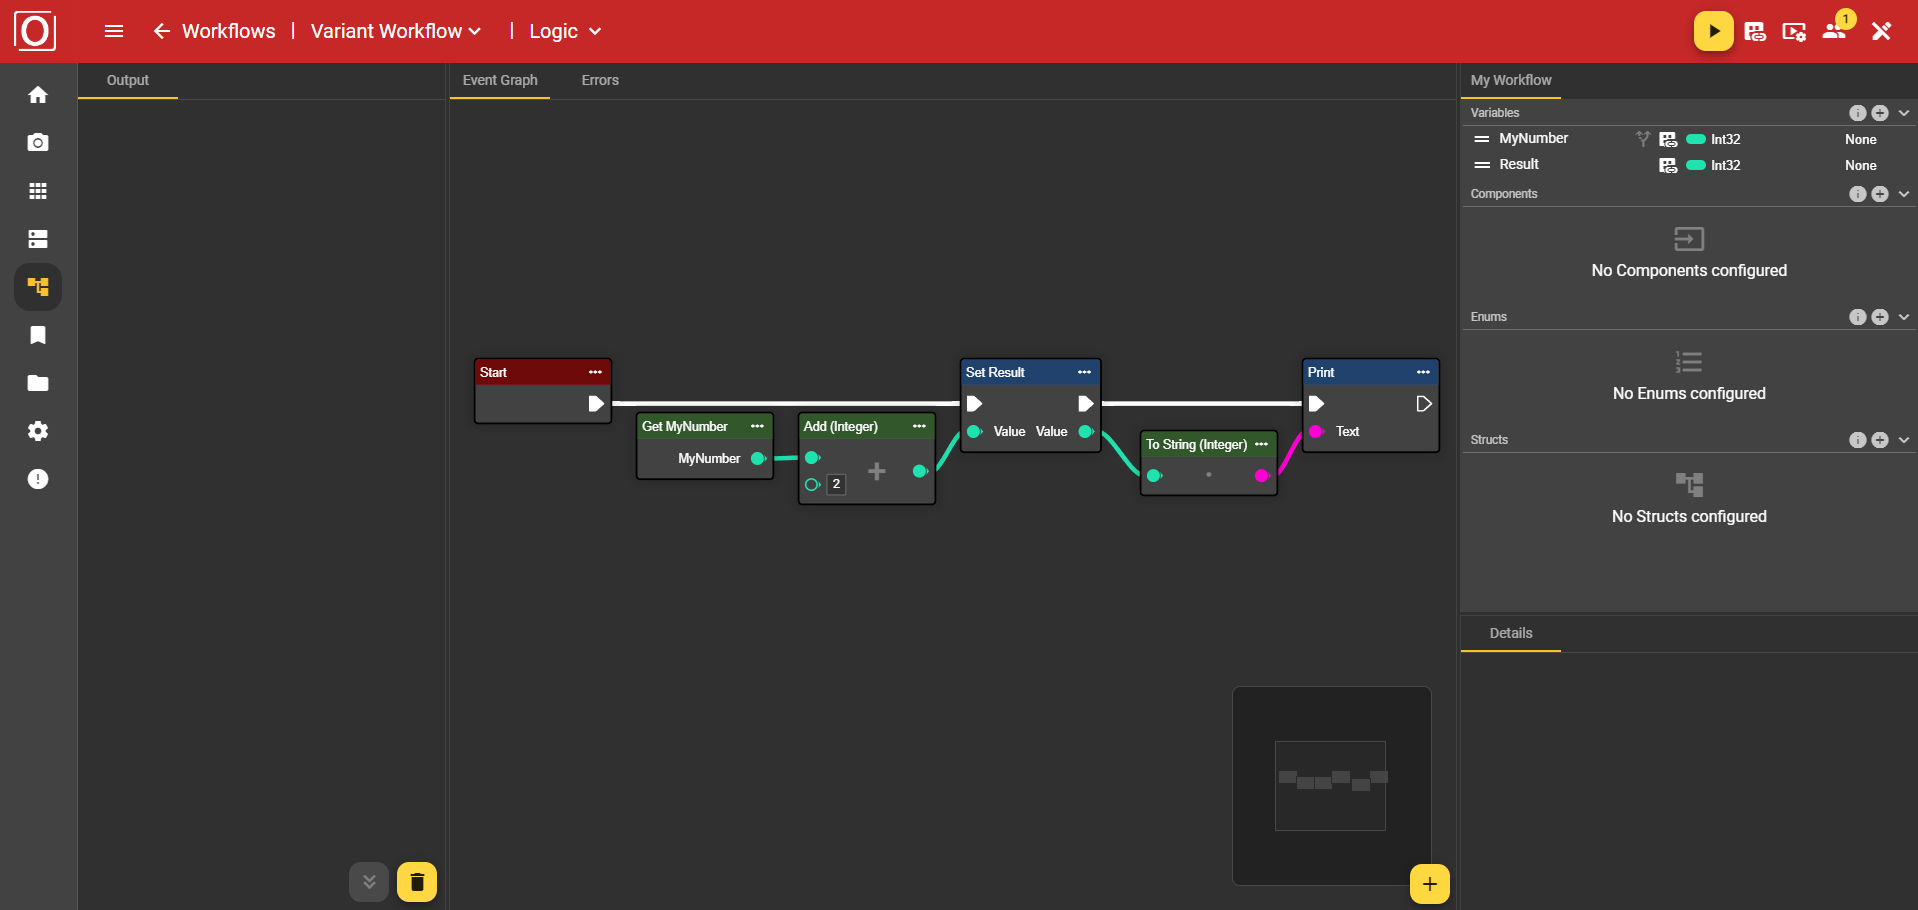
Integration of Variants in the Workflow
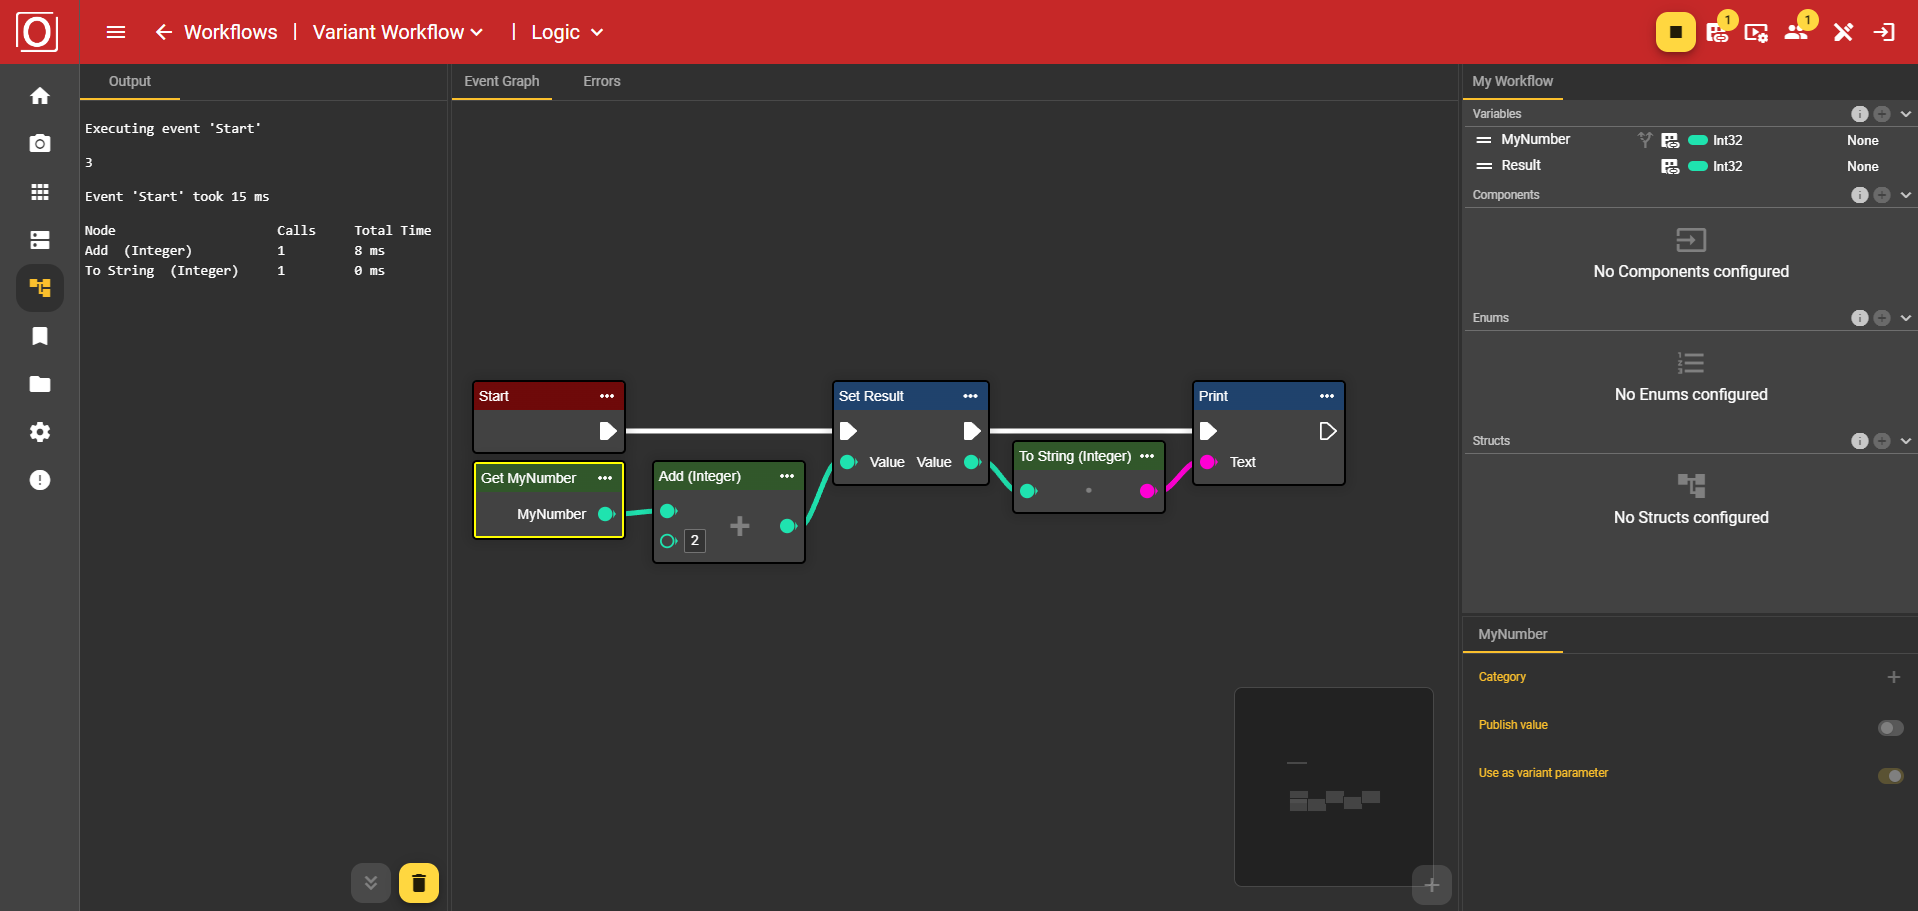
To use the variants you previously configured within the workflow, you need to add a Get Variable node to the graph and connect its output to the input of another node that should use the variant values. Make sure that the node you add corresponds to a variable marked for variants.
Activating a Variant
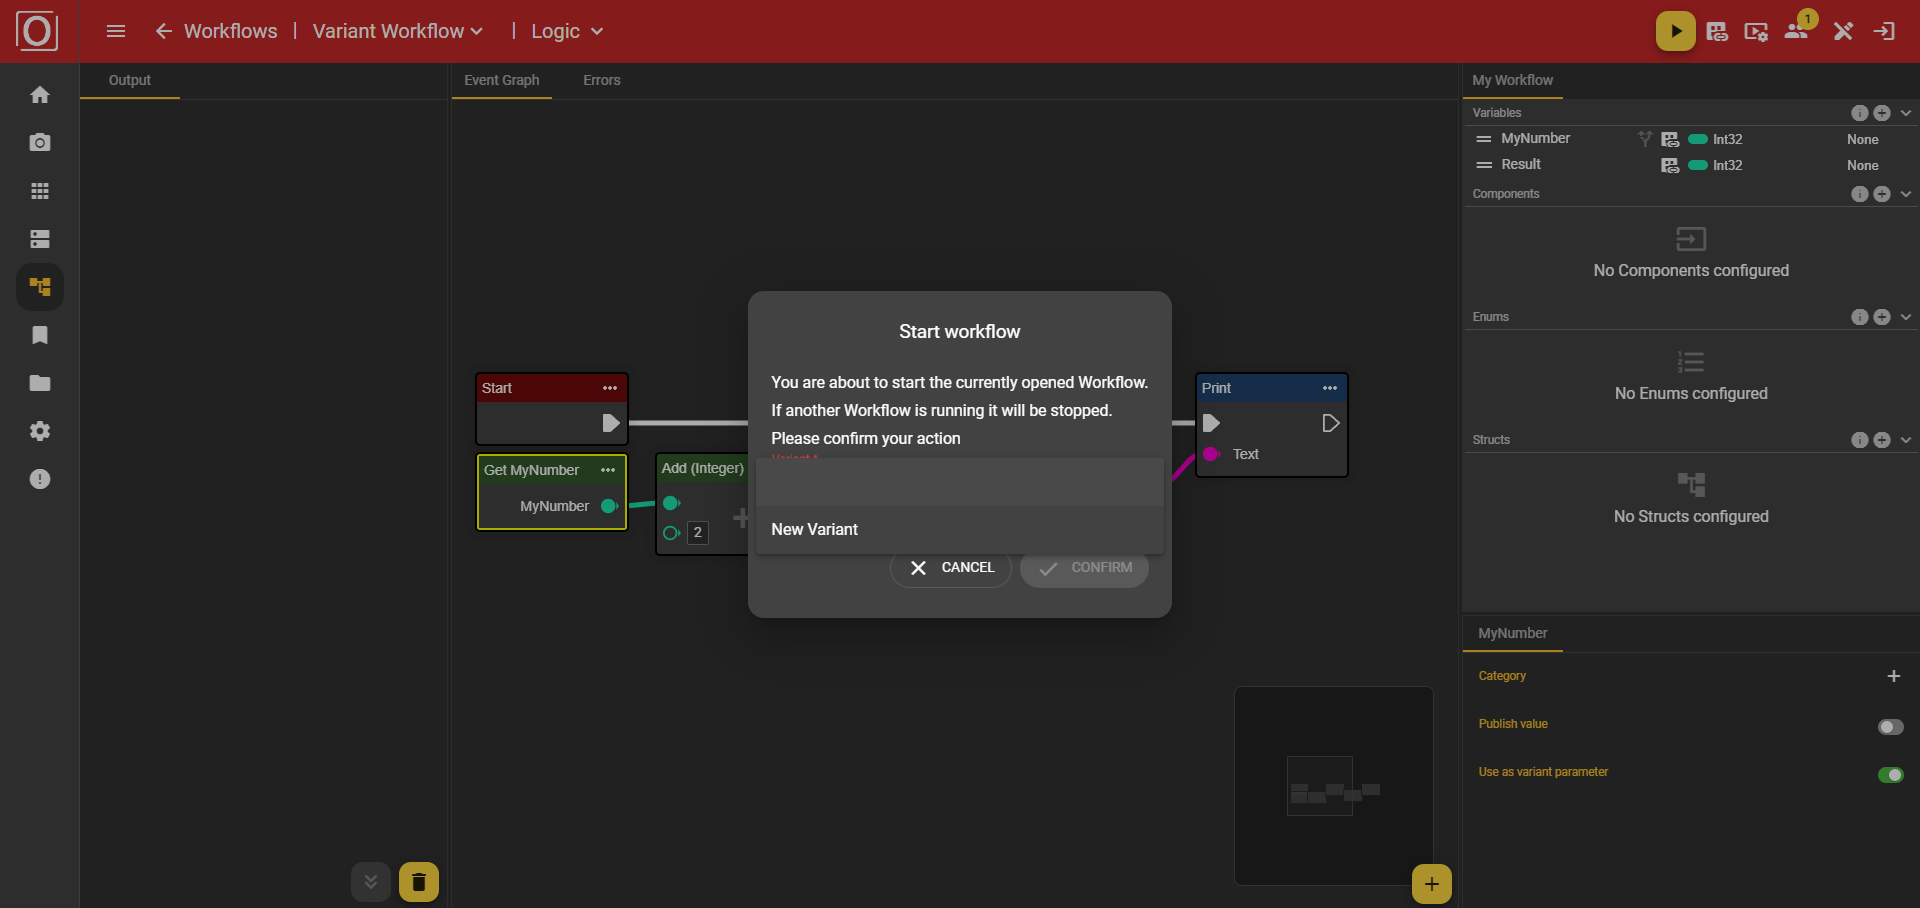
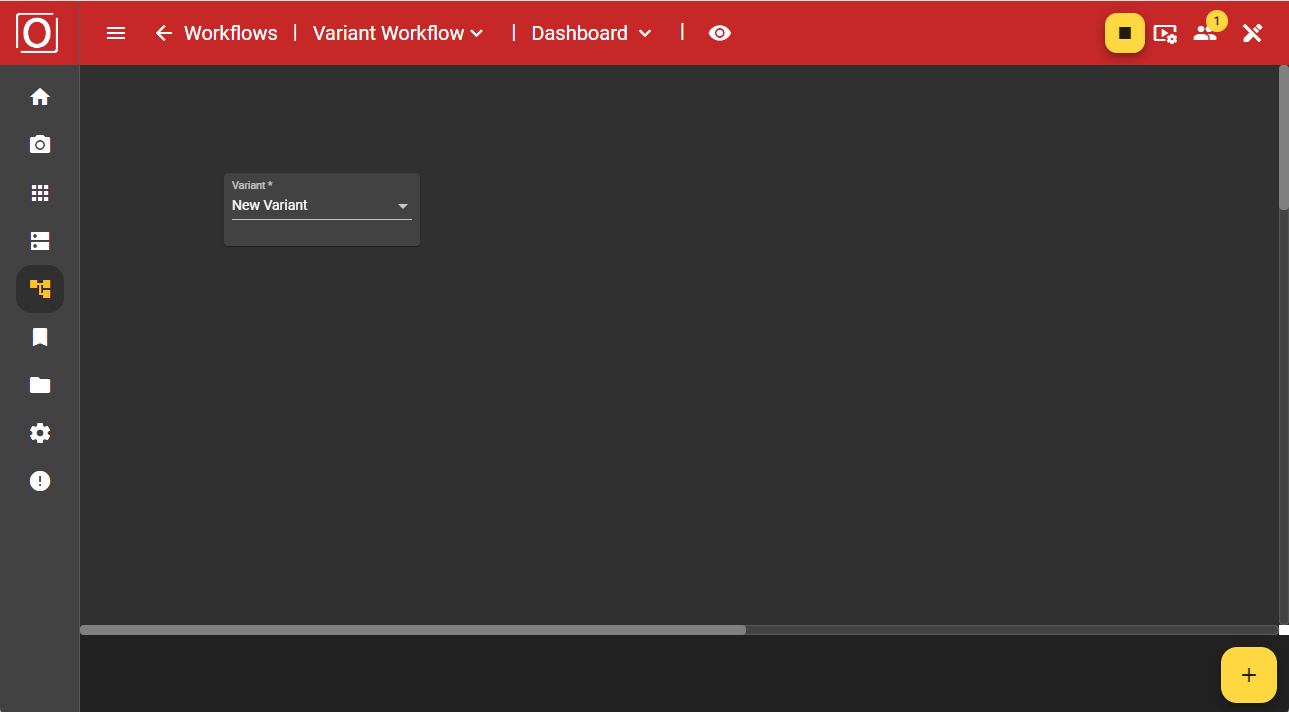
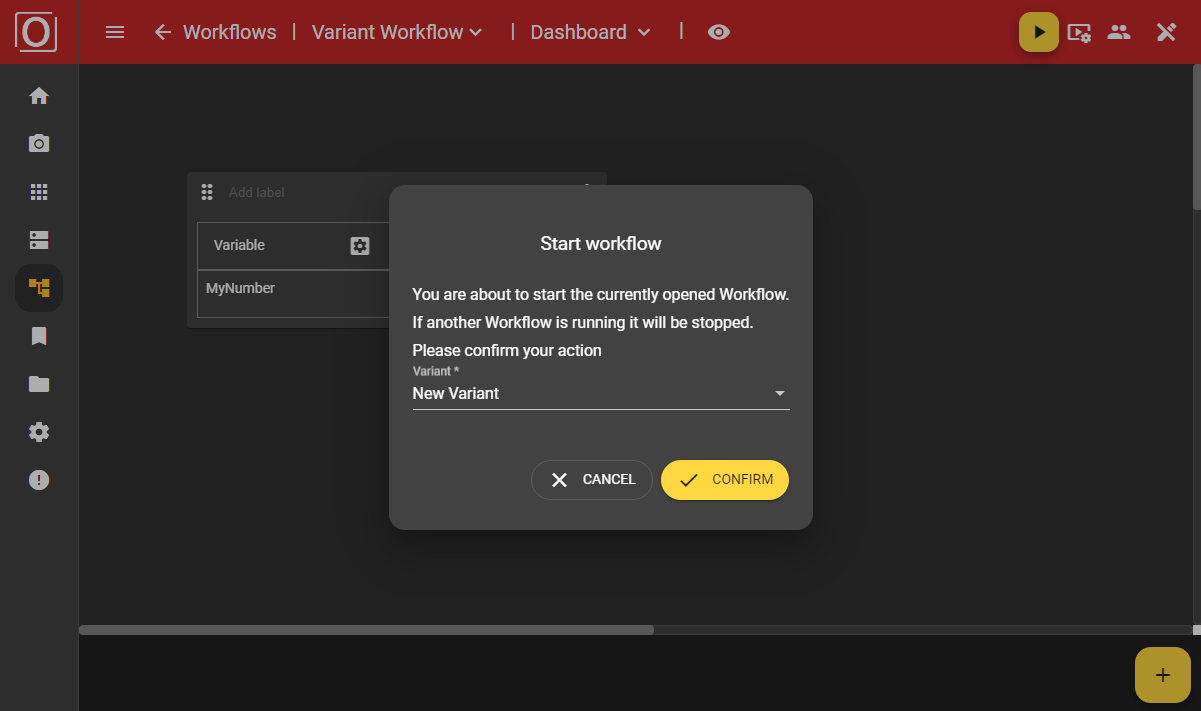
After all preparations and settings have been made, the variant is ready to be used. As long as at least one fully configured variant exists, you can start the workflow via the Top App Bar (red bar). When starting, a dialog will prompt you to select one of your configured variants. Choose the desired variant here so that the workflow receives all the necessary information for the processing.
Controlling Variants in the Dashboard
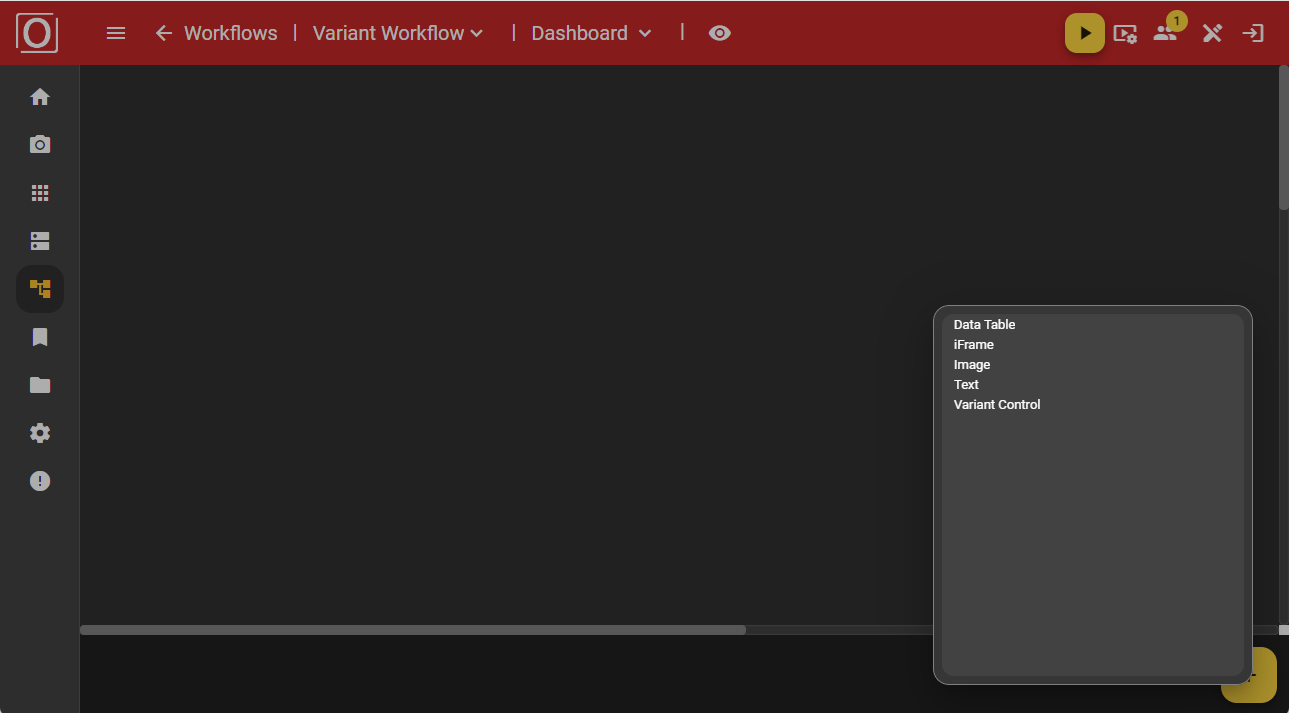
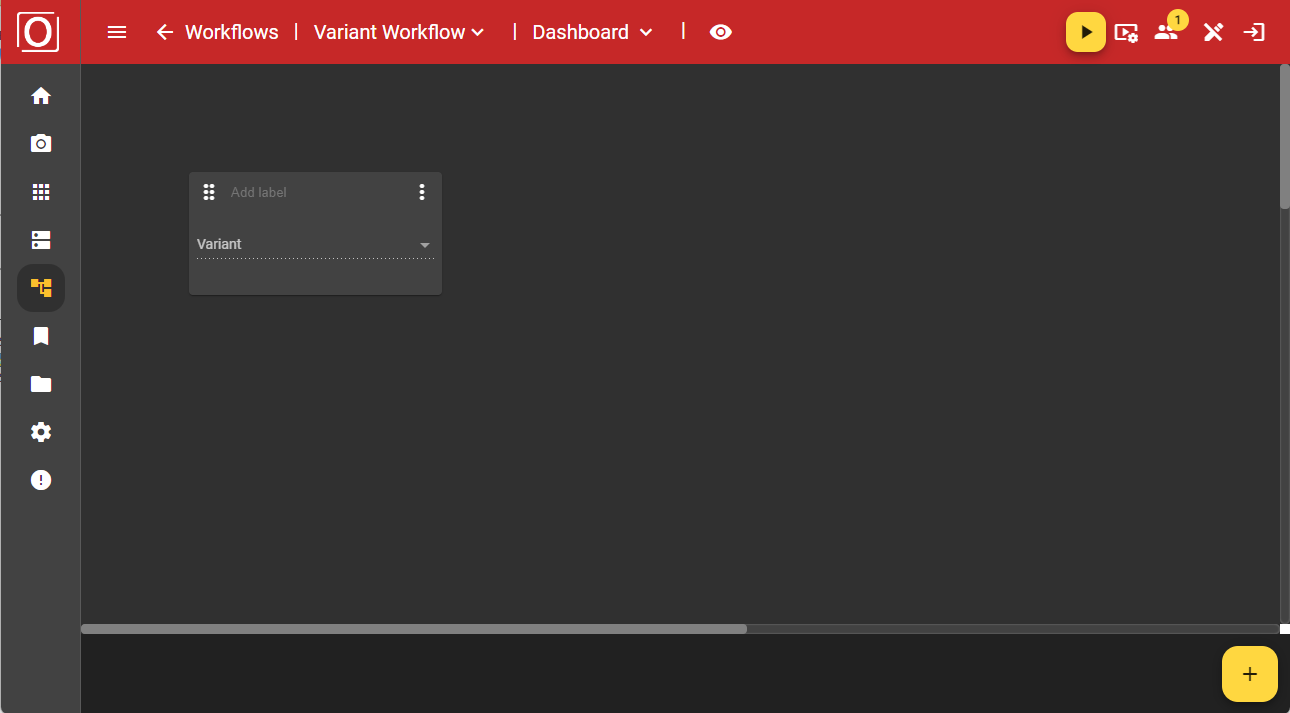
During operation, you can manage the variants via the dashboard. The advantage of this is that you don’t need to make any changes to the graph. Simply add the Variant control widget to the dashboard using the Add button.
Initially, the widget is displayed in an empty state. However, once your workflow is active, you can select the variant you want to use instead via a dropdown menu.
If you have started a workflow using a variant, the widget will be populated with the currently used variant.
After making your selection, a dialog will ask you to confirm whether you really want to use the chosen variant, as this will affect your ongoing process. Once you confirm the dialog, your workflow will operate with the values of the newly selected variant.

Controlling Variant Parameters in the Dashboard
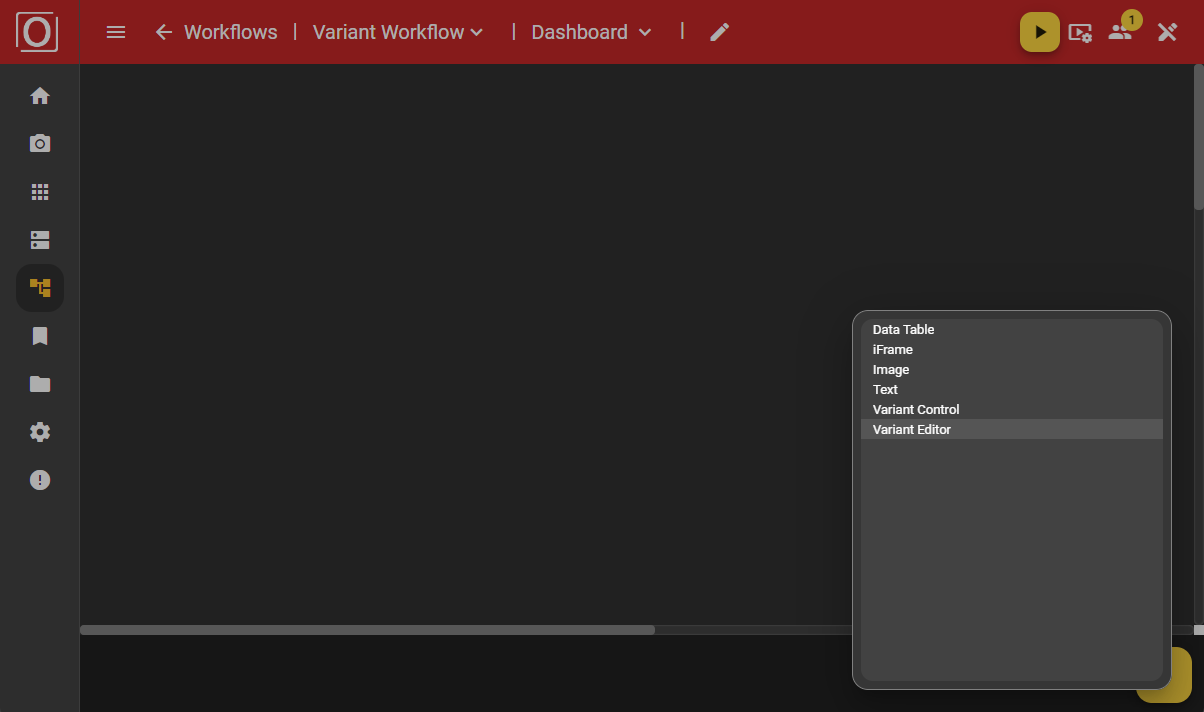
You can also manage parameter values during operation via the dashboard. Here again, you benefit from not having to make changes in the graph or the variants table, nor interrupt the active process. Simply add the Variant editor widget to the dashboard using the Add button.
Initially, the widget is shown in an empty state. However, once your workflow is active, you can select the variant you want to use instead via a dropdown menu.
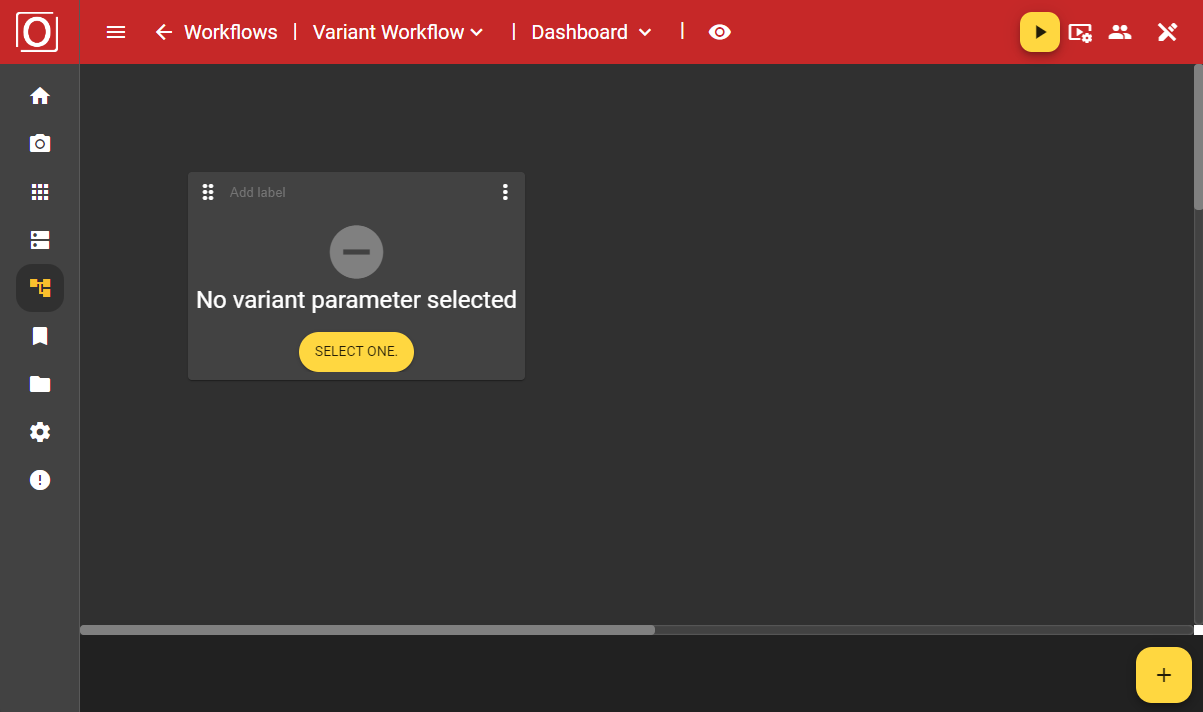
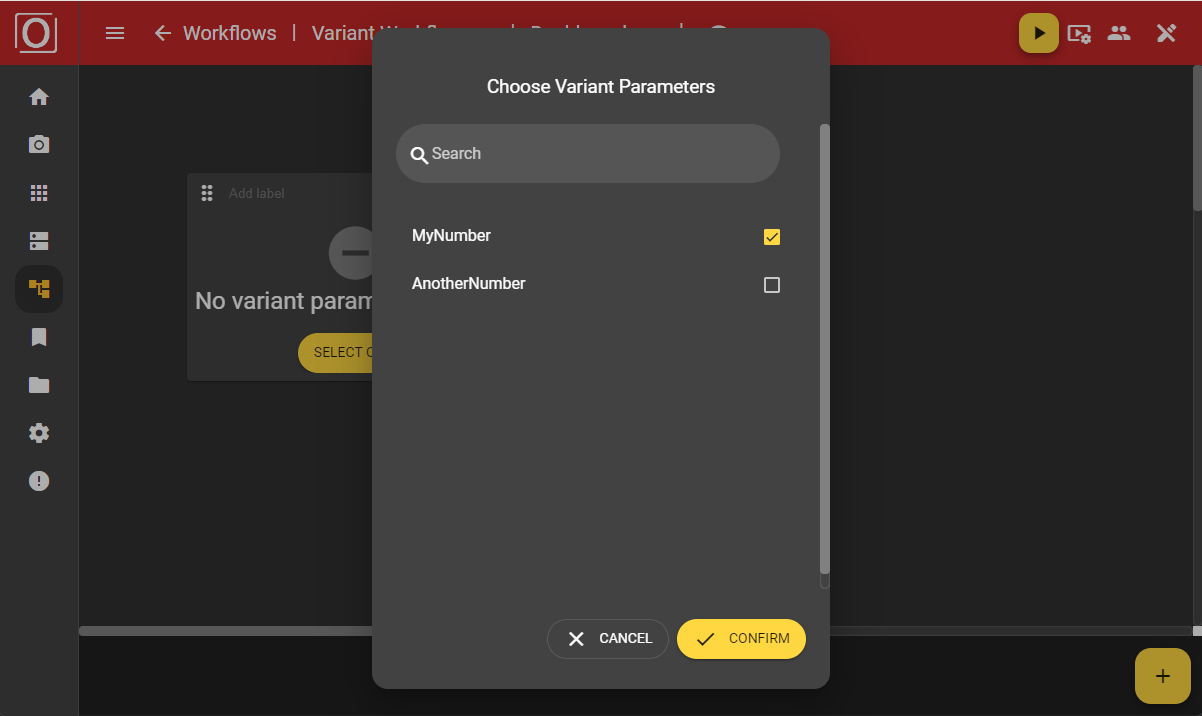
When you configure the Variant editor widget, you can select from all parameters marked for variants in a dialog and have them displayed. If there are many parameters, it may be helpful to use the search function.
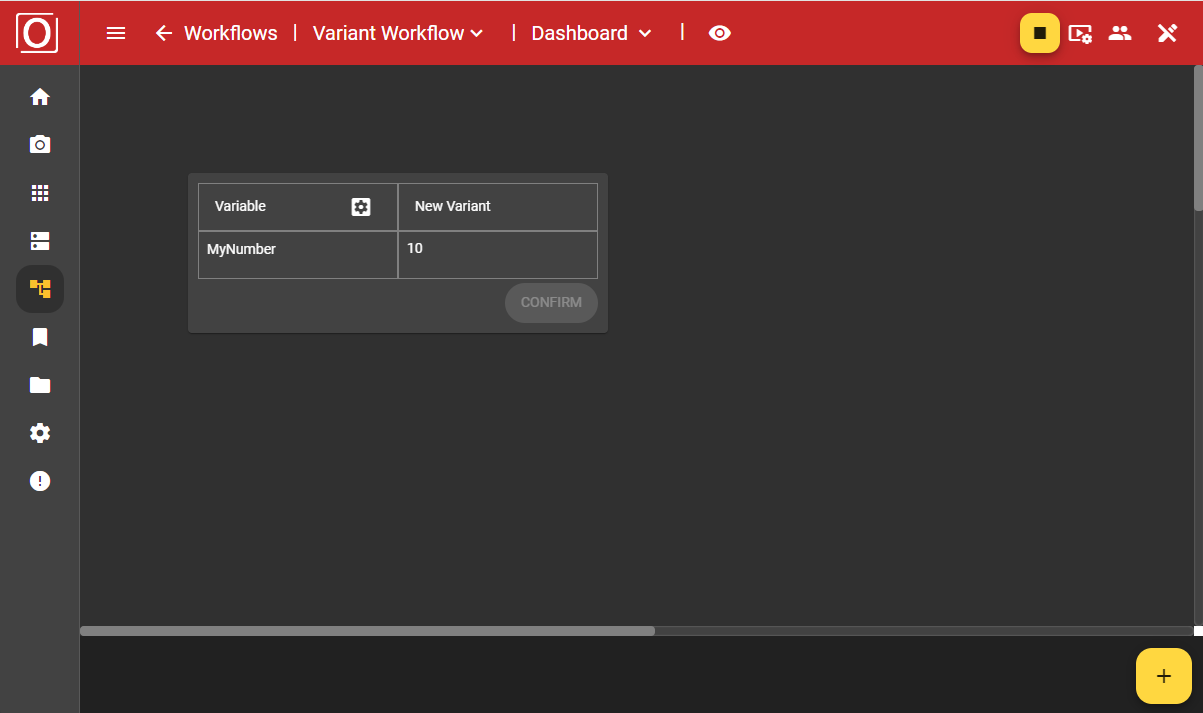
Even after configuration, your widget will still be displayed in an empty state. However, once you activate your workflow by selecting the variant you want to use from a dropdown in the dialog, the values assigned to the active variant will be shown.

If you have started a workflow using a variant, the widget will be populated with the values of the currently used variant.
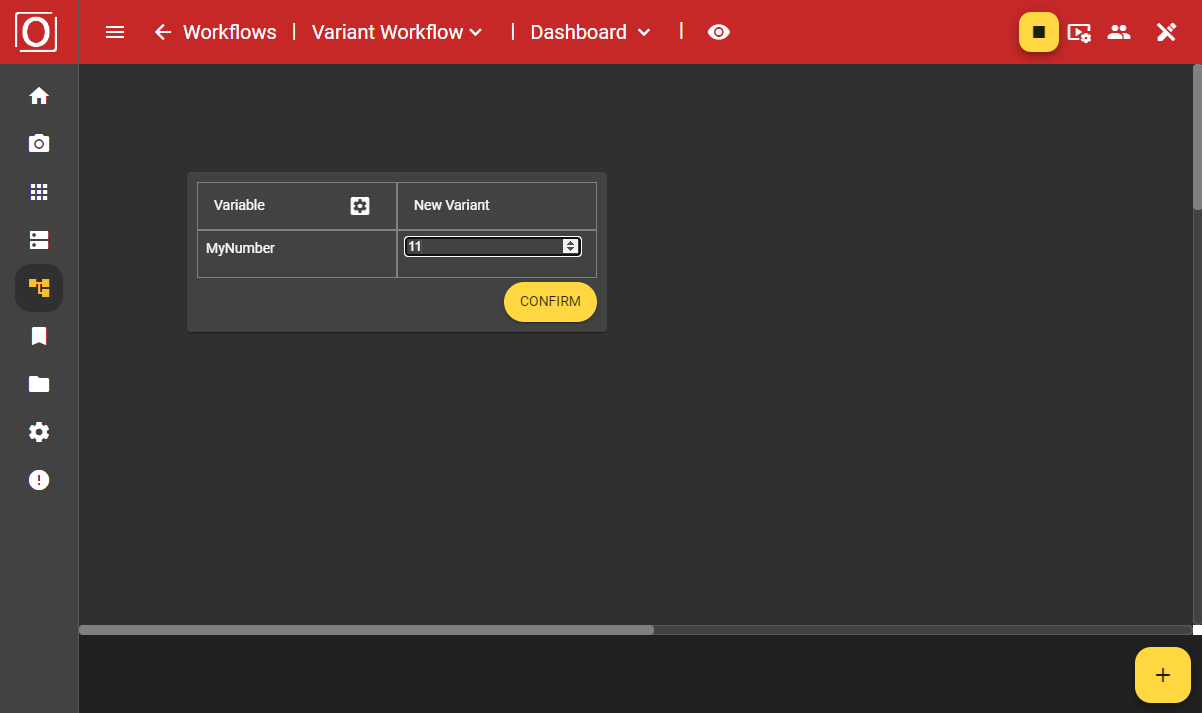
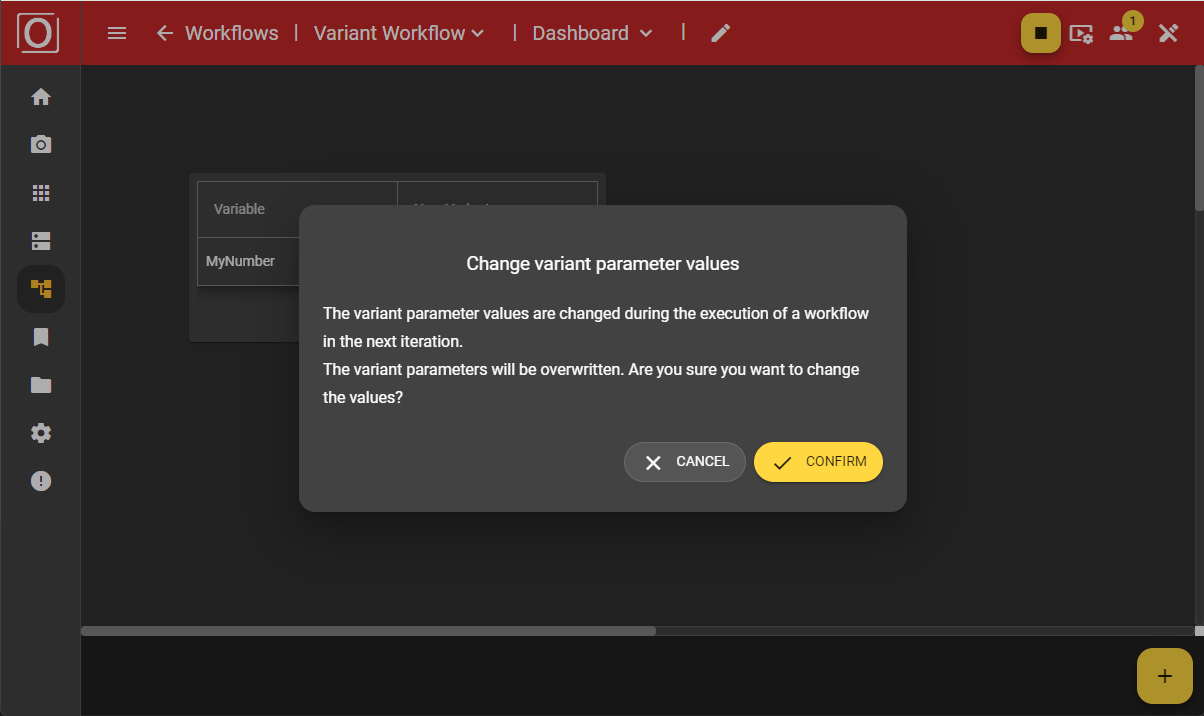
After making your selection, a dialog will ask you to confirm whether you want to use the new values of your variant parameter, as this will affect your ongoing process. Once you confirm the dialog, your workflow will operate with the new values.