Image Source
In this chapter, you will learn which steps are required to create an image source. In the Image Source menu item, you can capture your image and make all the necessary settings for further processing.
Important: You must be logged in to create an image source.
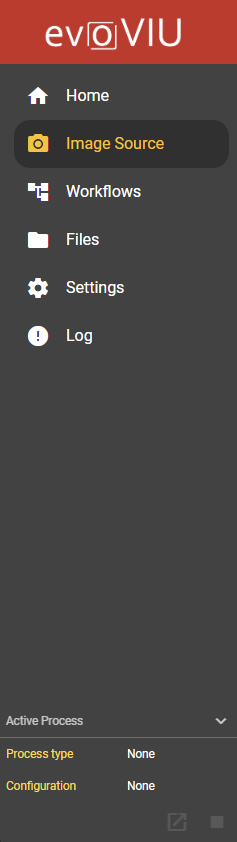
Select menu item Image Source
Go to the Image Source menu item and select it.
Create Image Source
Open Dialog
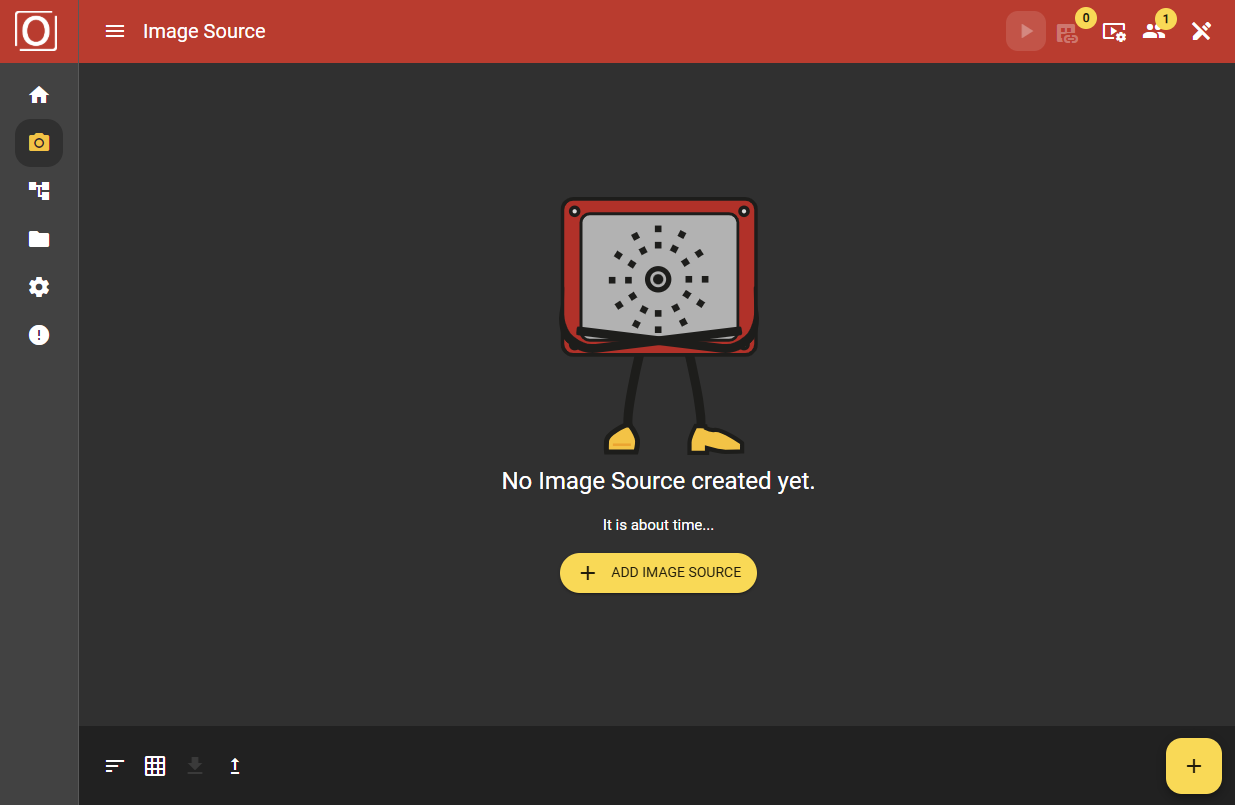
If you have not yet added an image source, you have the option of creating a new configuration using the Add Image Source button.
If you have already created an image source, you will be taken to the overview page. On this page, you can add a new image source using the “Add Image Source” button in the left-hand navigation bar. It is also possible to create a new image source using the + button in the bottom right-hand corner.
Creating an image source
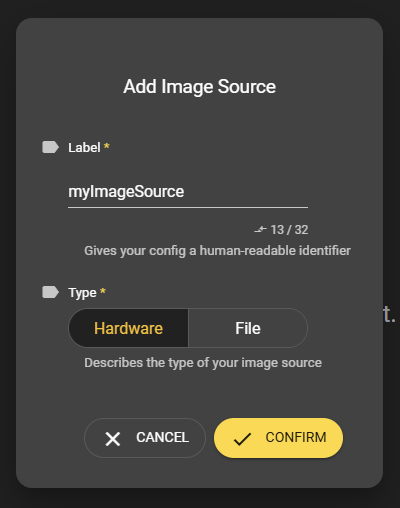
A dialog box appears. Here you can give your image source a label and select one of the types Hardware or File. Click on the Confirm button to create your new image source.
Overview
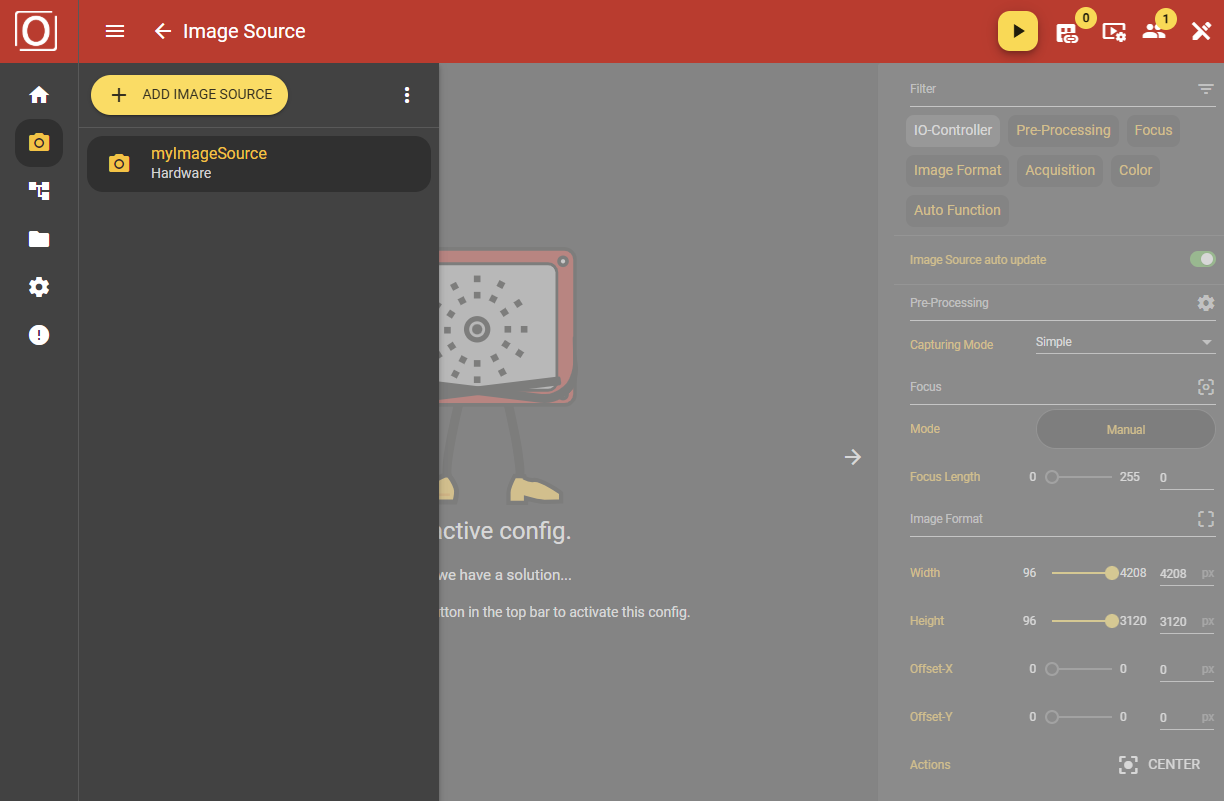
Your created image source with the label you have selected now appears in the left-hand column. Click on the image source to select it and the Image Source Stream Area and the Configuration Bar will appear.
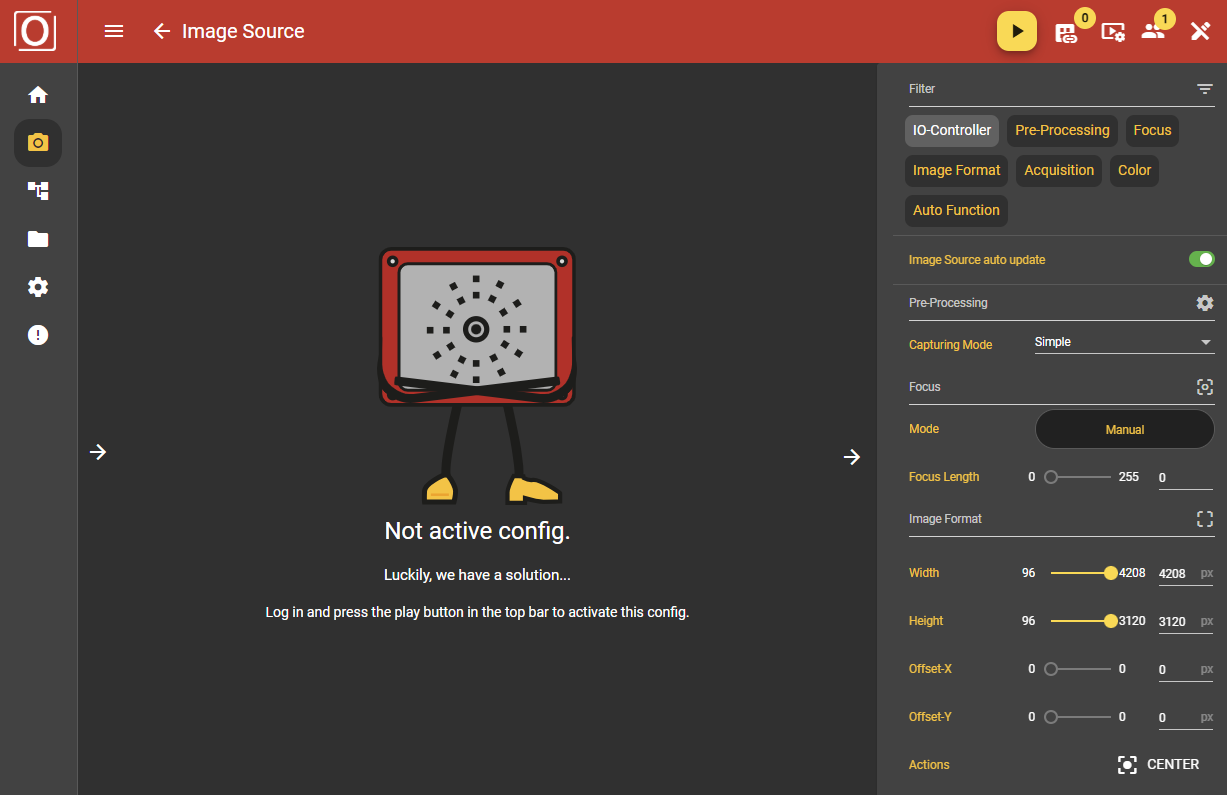
Image Source Stream Area
In this chapter, you will learn why you need the Image Source Stream Area and what the icons in the Control Bar mean.
Image display
The image source stream area consists of the image stream and the image stream control bar. Where “Not active config” is currently displayed, your image will soon be visible.
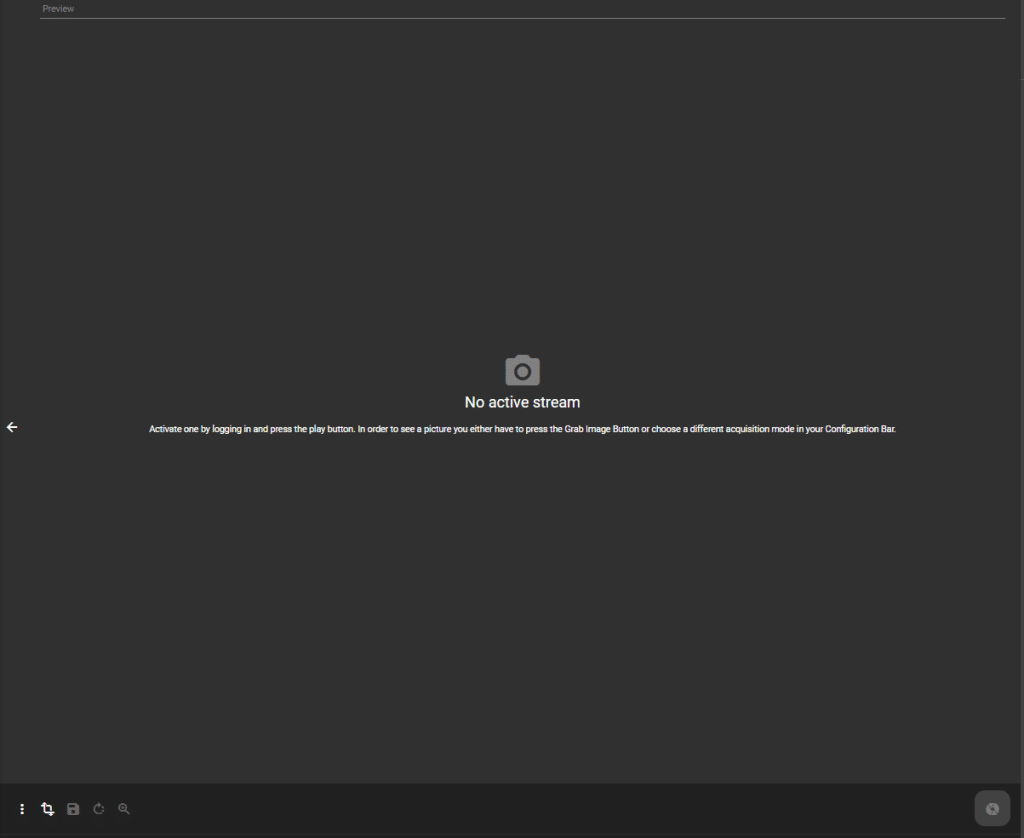
As soon as an image is captured, it is displayed in the center of your screen. You can use the yellow button (Background Image Display) to specify the mode in which the image is to be displayed:
Original size
Scale to container
Scale to fit
Activating the stream
The header of the application also changes in the Image Source menu item. The Play button and the link icon appear. You can start the stream with the Play button. You can only capture images when the stream is started. The link icon shows whether the selected image source is also used in other areas of the web application. If this is the case, the image source cannot be deleted.

Stream Settings
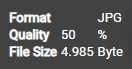
You can use the icon in the middle to select the file format of your image. You can also set the scaling and quality of your image. For the file format, you can choose between BMP and JPG, while you have a total of four different scaling levels to choose from:
Original (100%)
High (75%)
Medium (50%)
Low (25%)
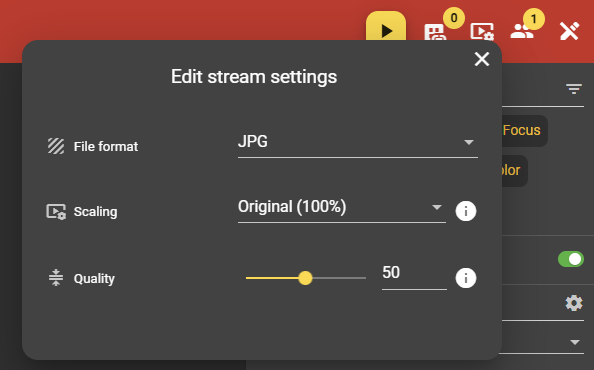
Image Stream Control Bar
The Stream Control Bar awaits you with a huge amount of action options and information. We present the sub-areas below.

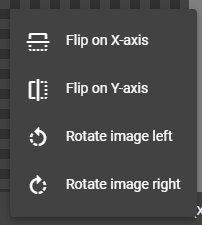
Transform Actions
Starting from the left, a further menu with transformation actions is hidden behind the first icon. The options available there mirror or rotate your captured image.
Saving the image recording
You can save your image in the Files menu item using the Save icon. A folder with the name of the image source is automatically created.
Advanced autofocus configuration
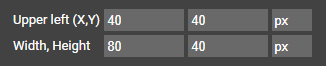
To improve the results and increase the speed of the autofocus calculation, you can mark the relevant image area. A rectangle appears on your image, the size and position of which can be edited as long as you have activated the autofocus configuration mode. Click on the button again to deactivate the mode.
You can recognize the active status by the fact that additional information on the size and position of the focus region is displayed above your image display. You can also configure the relevant image area in the form of a rectangle above this.
Display settings
The following settings influence the display of the captured image in the Image Source Stream Area.
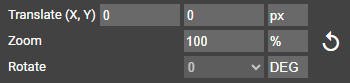
Translate (X, Y)
You can use this setting to set an offset for the display. This is useful if you do not have a mouse available for the zoom.
Zoom
You can use the zoom function on the displayed image by pressing Ctrl and Alt and moving the mouse wheel. You can control how much you use the zoom using the input field. You can also use this to configure the zoom. The button for resetting the zoom is also located next to it. If you press this, the initial status of the image is displayed again.
Rotate
If you have used the Transform Actions, you can track the status of the image capture via the value displayed under Rotate.
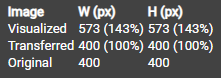
Display information
Here you can read out information regarding the displayed and actual image size.
Stream-Settings
We have already mentioned the stream settings in the section of the same name. The settings entered there are listed again here.
Autofocus control
If an image has been captured, you can also start the autofocus. Within a few seconds, all calculations are automatically carried out in the background and the ideal focus value for a sharp image capture is determined. You can stop the calculation at any time using the button displayed in the same position, but with a different icon.
Manual image capture
You can trigger image acquisition with the icon on the right-hand side if you have selected Manual in Acquisition Mode. If you are capturing images in another mode, this button is grayed out.