First steps with evoVIU
This chapter describes the initial steps that should be taken when receiving the camera.
Congratulations!
By purchasing the evoVIU smart camera, you have taken an important step towards digitizing and optimizing your production processes.
You have opted for a future-oriented product that grows with your requirements - flexible, powerful and reliable.
Everything from a single source - all made in Bavaria.
Unpack - get started!
First open your evoVIU packaging. You should find the following parts:
evoVIU - camera system of your ordered variant
WLAN antenna
First Steps instructions
OverVIU information
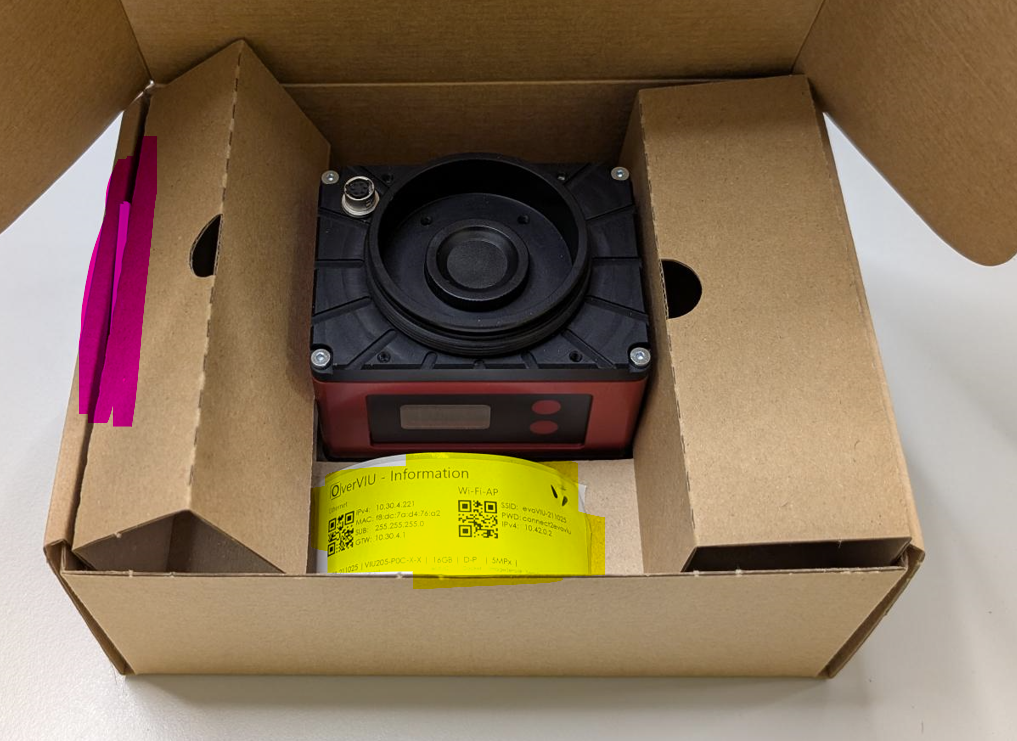
First check that all components are present and have not been damaged during shipping.
Please check whether the camera variant corresponds to the camera variant ordered.
Connect- Ready-to-Go!
Depending on the camera version, you can set up your evoVIU smart camera quickly and easily. There are two different plug connections to choose from so that you can react flexibly to your individual requirements.
Supply
VIU1: WIFI-SMA | M12-A-5PIN | M12-X-POE
VIU2: WIFI-SMA | M12-A-5PIN | M12-X-POENetwork connection
VIU1: WIFI-SMA | M12-A-5PIN | M12-X-POE
VIU2: WIFI-SMA | M12-A-5PIN | M12-X-POEWifi connection
VIU1: WIFI-SMA | M12-A-5PIN | M12-X-POE
VIU2: WIFI-SMA | M12-A-5PIN | M12-X-POE
During the boot process, the boot process of the camera is shown on the integrated display. As soon as the display is active, the camera has booted up successfully.
If the display initially remains dark, press any button - the display should then appear.
Data connection
Network via X-coded network cable
In the OverVIU information you will find all the factory settings for the camera
You can also find the currently set IP address on the display under the Info button. If required, you can also set this directly there.
The camera must be connected to a physical network for the IP address of the camera to be displayed. Without an active network connection, the Ethernet port remains deactivated. It does not matter whether the network settings of the camera match those of the network - the connection will still be recognized. A functioning Ethernet connection is indicated by a thick ETH symbol at the top right of the display.
b. Network via X-coded network cable