Calibration
Einleitung
This chapter provides general information on performing camera calibration within the configuration of an image source.
Calibration is intended to determine the camera-specific parameters needed to mathematically describe and correct optical distortions in the image. The determined values are saved and can be used for every subsequent image capture with this image source, for example, to remove distortions such as a fisheye effect in the workflow.
However, if the camera position, lens, or relevant image settings change, the calibration must be performed again, as the previously determined values are no longer correct in this case and can lead to incorrect results.
Requirements for calibration
For calibration to be performed, an image source configuration must always be present, both for preparation and execution/calculation. Additionally, you must be working as the active editor, and the image source must be of type "Hardware".
A physical checkerboard is required for calibration. The quality of the subsequent results depends significantly on the quality of the captured images, therefore, a stable camera position and appropriate image settings should be ensured before calibration. These settings must not be changed after successful calibration, as this would distort the measured values.
Calling up the calibration function
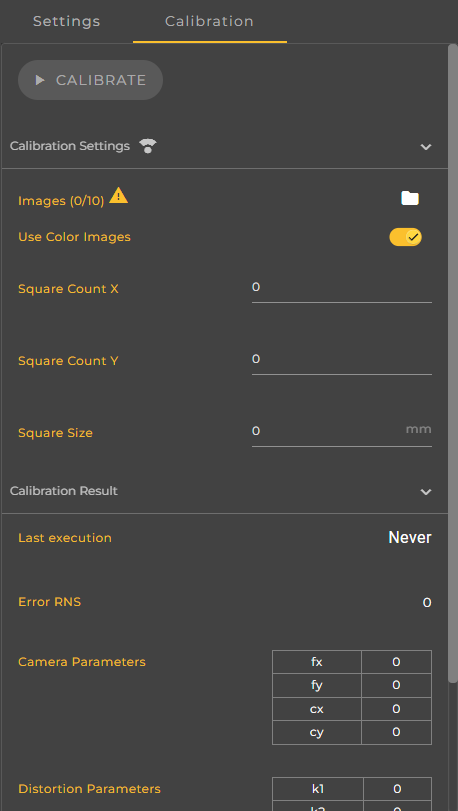
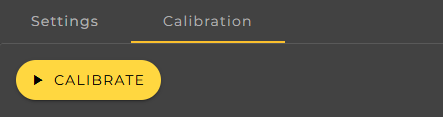
Calibration is performed via the Calibration tab, which you can access within the Image Source configuration. This tab is divided into several sections that guide you step-by-step through the calibration process. In the right-hand sidebar, you make all the settings necessary for calculating the calibration parameters.
Preparing the image data
First, images of the checkerboard must be manually taken and saved. A total of ten images are required, as the calibration can only be started with this number of shots. To achieve the most precise results, the checkerboard should be repositioned and its orientation changed several times between each shot.
Ensure that the checkerboard is fully visible and in sharp focus. Incomplete, blurry, or incorrectly exposed images can cause calibration to fail or produce inaccurate results.
Calibration settings
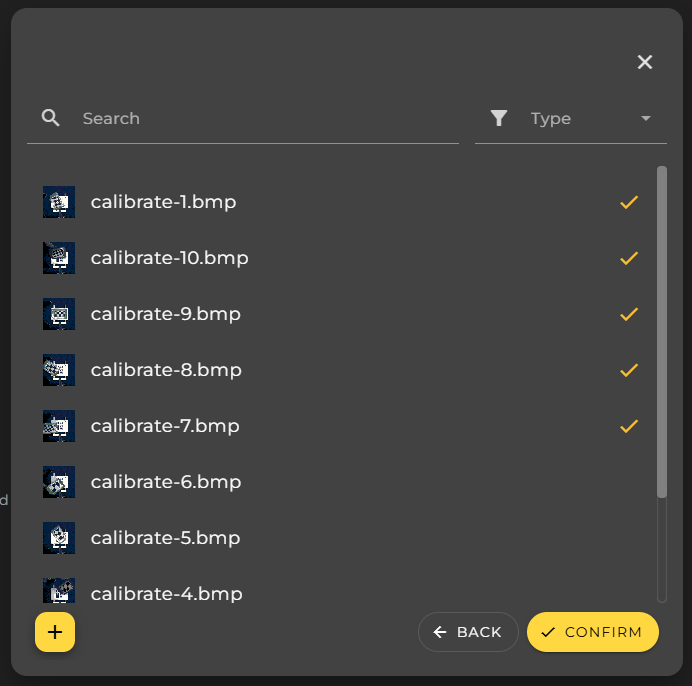
Once the images have been captured, they can be selected in the Calibration Settings. Using the File Picker dialog, select exactly ten of the previously saved checkerboard images. Calibration cannot be started without precisely this number.
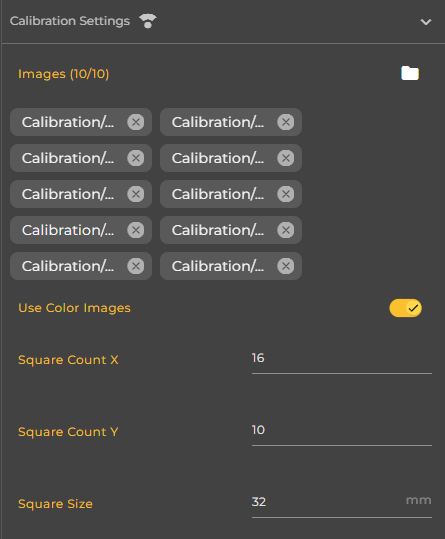
Additionally, you must specify the properties of the checkerboard used. This includes the number of squares in the X and Y directions, as well as the size of a single square in millimeters. These specifications must exactly match the actual checkerboard used, as incorrect values can lead to erroneous or unusable results.
Optionally, you can specify whether color images should be used for calibration. Using color images may increase the calculation time, but it does not necessarily affect the quality of the results.
Starting the calibration
Once all necessary settings have been configured and all information is complete and valid, you can start the calibration by clicking the yellow Calibrate button. The calculation begins immediately after clicking and typically takes only a few seconds. No further user interaction is required during the calibration process. The process cannot be canceled.
If the calibration cannot be started, a snack bar will be displayed with the message "Error when trying to start checkerboard calibration of Image Source". In this case, you should check whether exactly ten images have been selected, whether the checkerboard parameters are entered correctly, and whether the images used represent the checkerboard completely and with sufficient sharpness.
Calibration results
After successful calibration, the results are displayed in the Calibration Results section. There you will see the time of the last successful execution and the calculated calibration error in the form of the Error RNS value. A low value indicates good calibration quality.
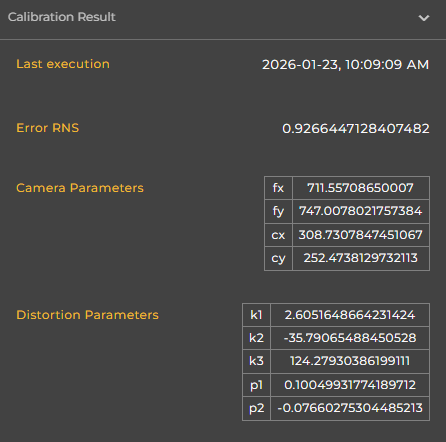
Additionally, the determined camera parameters are displayed in tabular form. These include the parameters fx and fy, which describe the camera's focal length, and cx and cy, which define the camera's principal point. Furthermore, the distortion parameters are shown. The parameters k1, k2, and k3 describe the radial distortion, while p1 and p2 represent the tangential distortion of the camera.
Processing the calibration parameters
The determined calibration parameters are automatically available after completion and can be used in subsequent processing steps within the workflow, for example in the Undistort node for geometric rectification of the image.
Once changes are made to the image source after calibration, such as camera alignment or relevant image settings, you must recalibrate to ensure continued accurate and reproducible results.
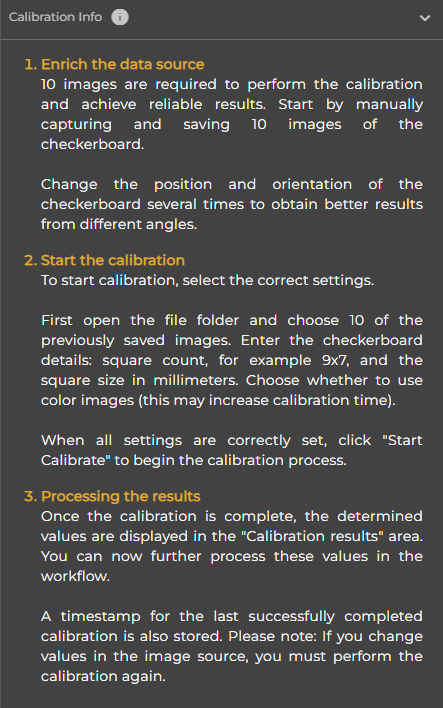
Information in the Calibration Info section
At the bottom of the Calibration tab, you will also find the Calibration Info section. There you will find integrated instructions describing how to perform the calibration, what to pay particular attention to, and how to achieve the best possible results.
These instructions will assist you in particular with the selection of suitable checkerboard images and the correct parameterization, and serve as supplementary support during the calibration process.