Date & Time
This chapter contains general information on setting the date and time settings of the evoVIU camera.
Introduction
You can check and set the correct time and date under this setting item.
Important: The camera does not yet have a real-time clock. When rebooting, it is therefore possible that the time last saved during shutdown will be displayed again. Use an NTP server so that the time is also synchronized with the system when rebooting.
Changing the date and time is only possible if no configuration is active.
Date & Time
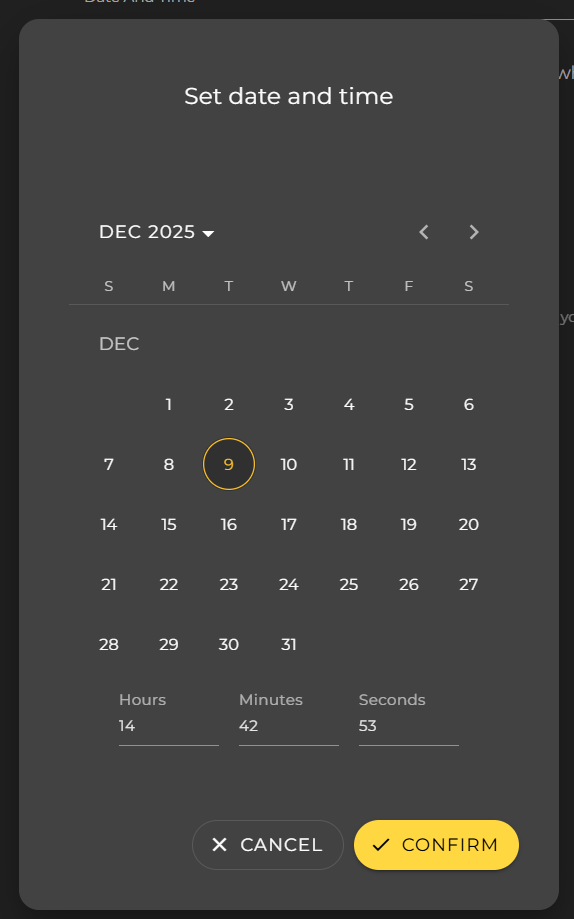
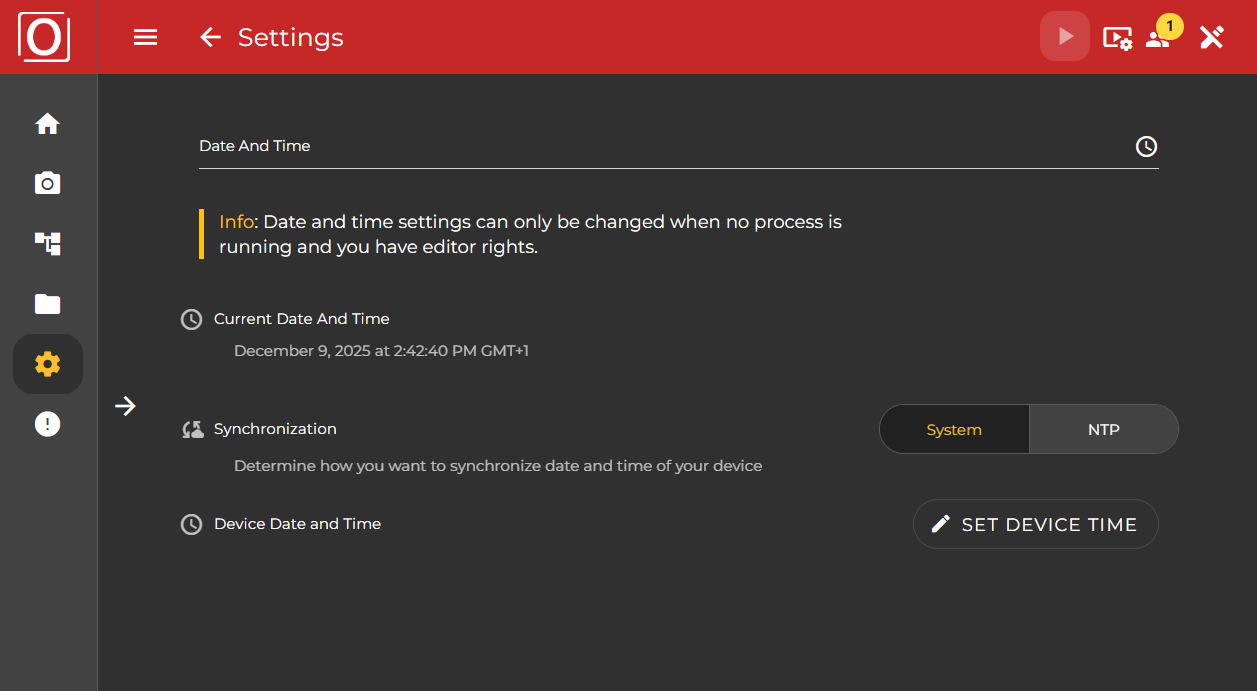
You can use the Set Device Time button to configure the time set on your device via a dialog.
Synchronisation
To synchronize the date and time, you can either use your system as a reference or refer to an NTP server address. This setting is particularly necessary in order to have the same time as other participants for events.
System
If you choose System as the mode for synchronization, you can use the settings made under Date And Time.
NTP
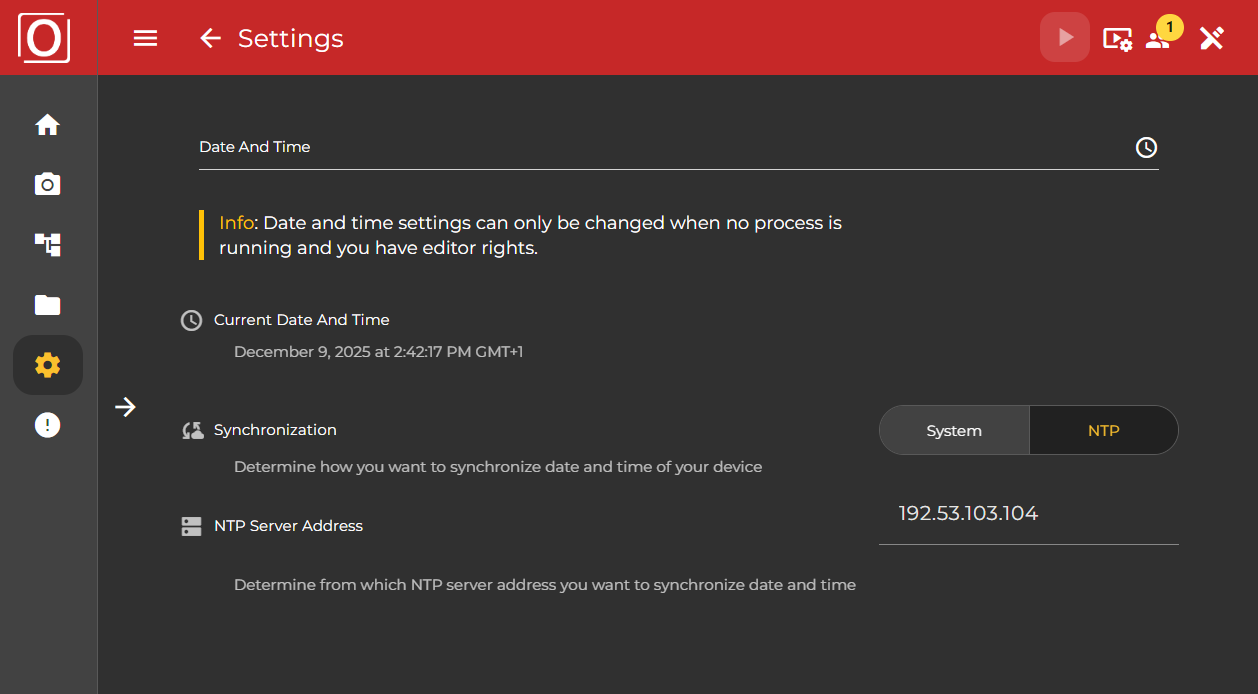
NTP server address
The following details are possible in the input field:
IP address: Enter the IP address in IPv4 format: Example: 192.168.9.1
Domain: Enter the NTP domain: Example: http://time1.google.com
Important: By entering the IP address of your NTP server, the camera automatically synchronizes with the current time of the server or the system. You can see from the adjusted time that the synchronization was successful.
Reboot after setting the NTP server: It is recommended to reboot the camera after setting the NTP server. This will ensure that all parts of the camera are synchronized with the new time. To do this, simply go to “System > Restart” and reload the browser after approx. 1 minute.
Primary Routing: Make sure that your NTP server address (domain / IP address) is available on the prioritized routing port. Example: If the NTP server is available via a domain (DNS address) on the Ethernet port, this must be selected as the prioritized routing address. To do this, simply go to “Ethernet > Use as primary routing”. The process can take 30 seconds.